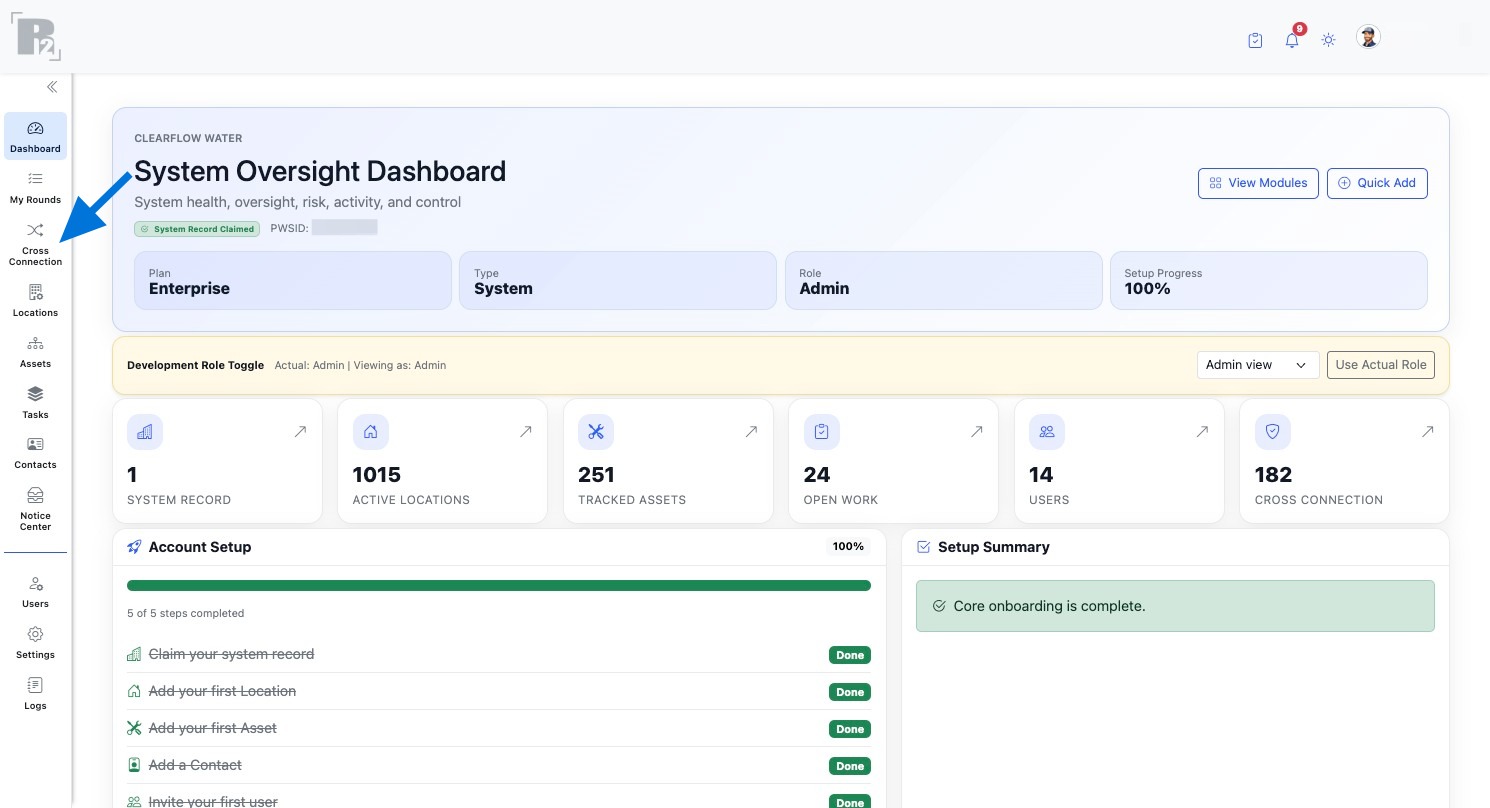
Cross Connection Setup
Add backflow assemblies, testers, and gauges so testing workflows, compliance tracking, and reporting work correctly across your system.
Before You Start
Set up the records that support assembly testing, compliance tracking, and connected backflow workflows.
Recommended Assembly Flow
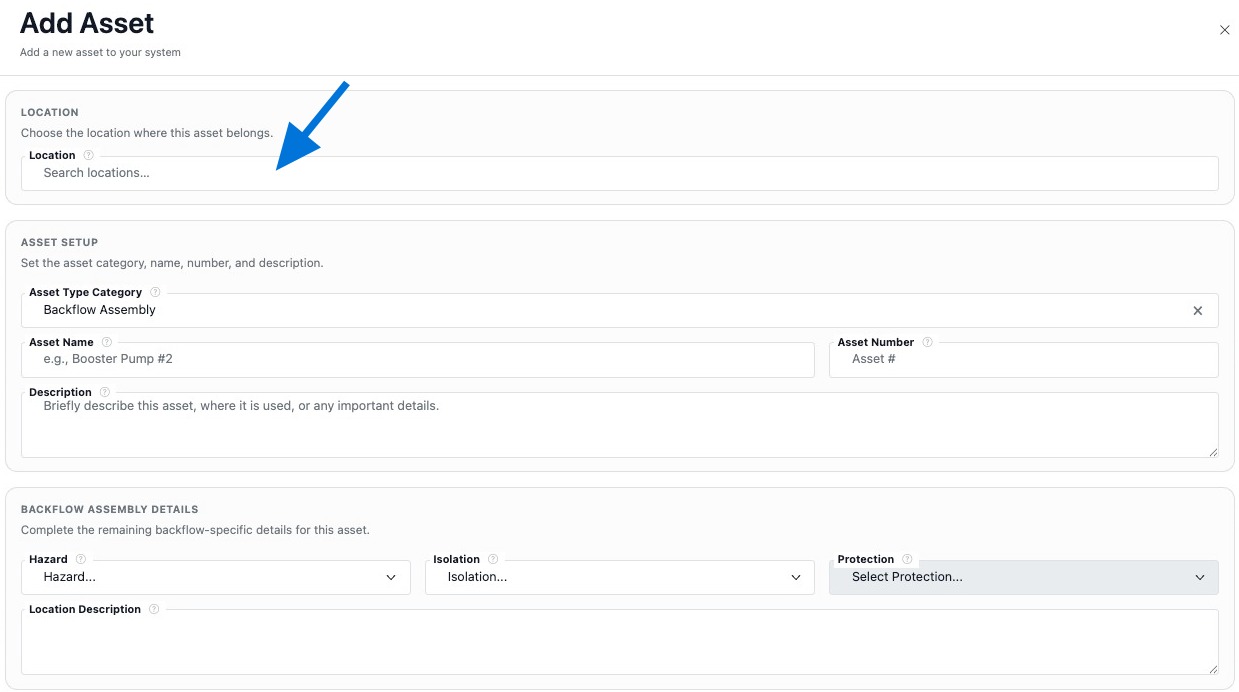
The recommended process is to create the Backflow Assembly while linking it to the correct Location so you do not have to go back and connect the record later.
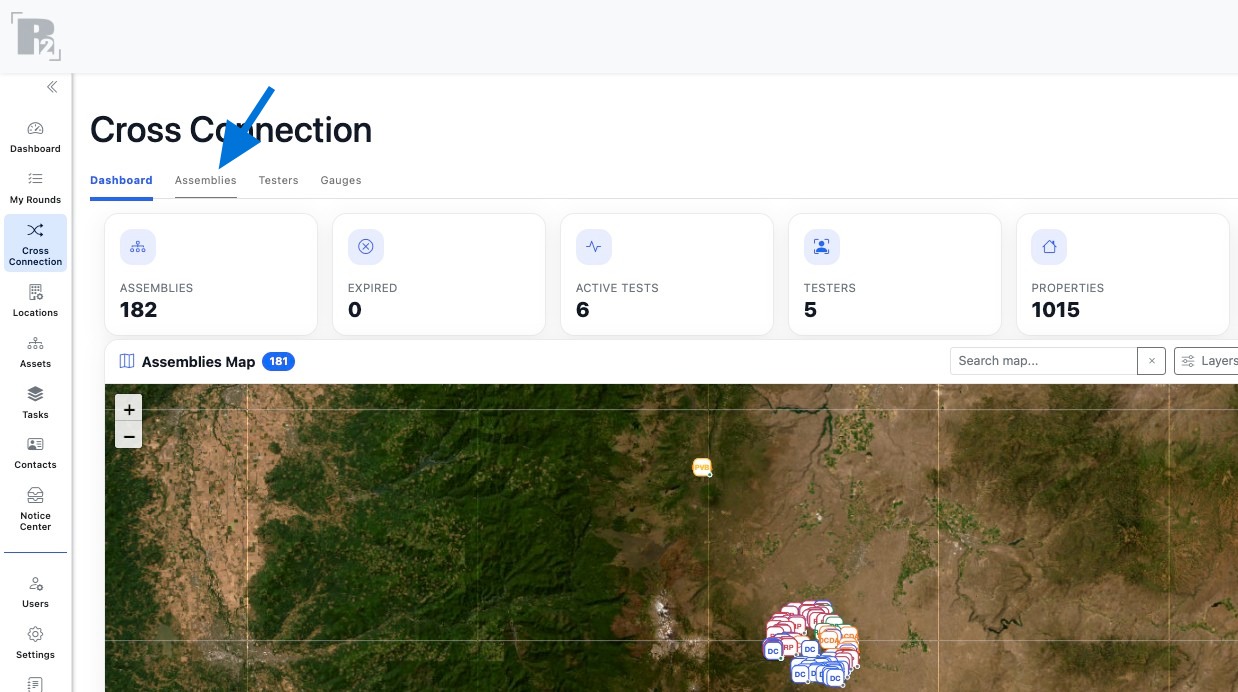
What You’ll Set Up
This guide covers Assemblies, Testers, and Gauges so test entry, compliance tracking, and reporting have the records they need.
What You May Need Ready
Have the location, assembly nameplate details, hazard and protection information, tester certification details, and gauge calibration information ready before you begin.
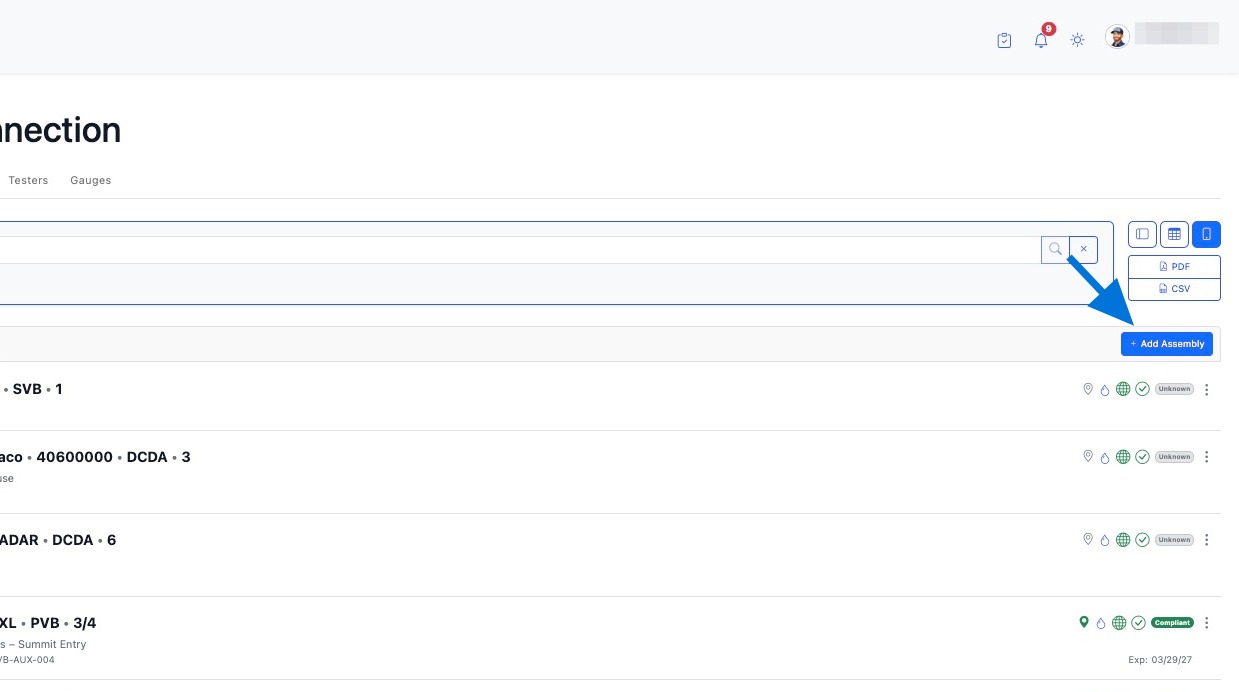
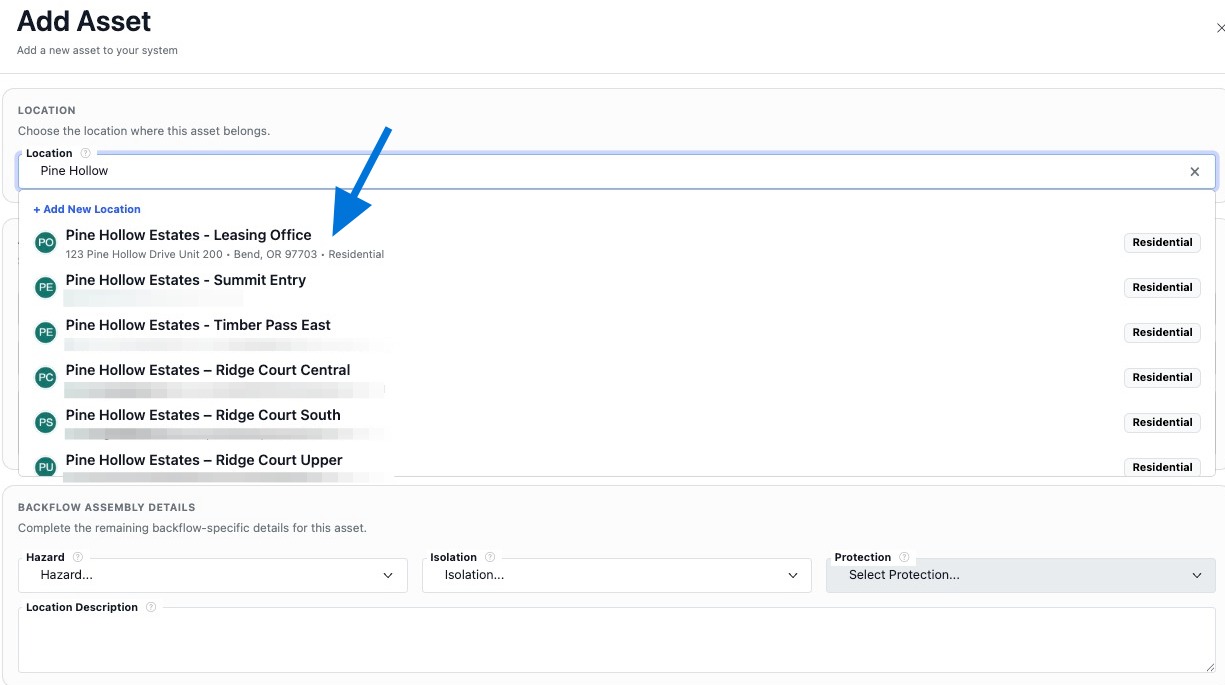
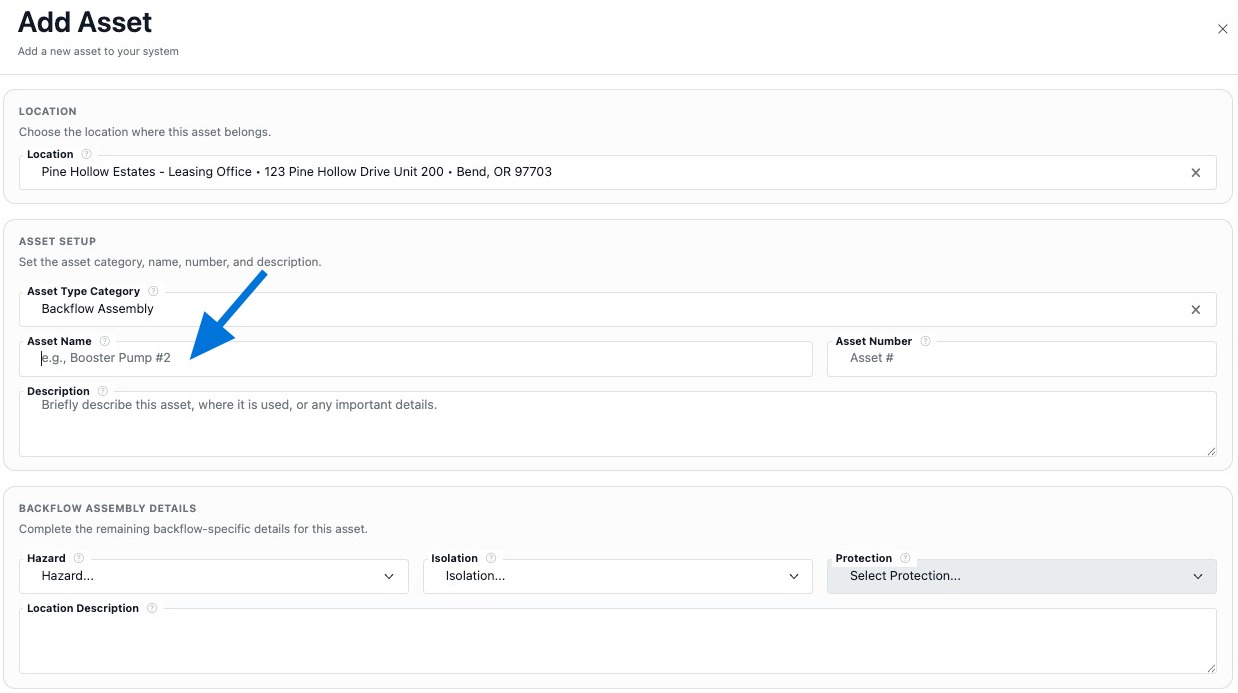
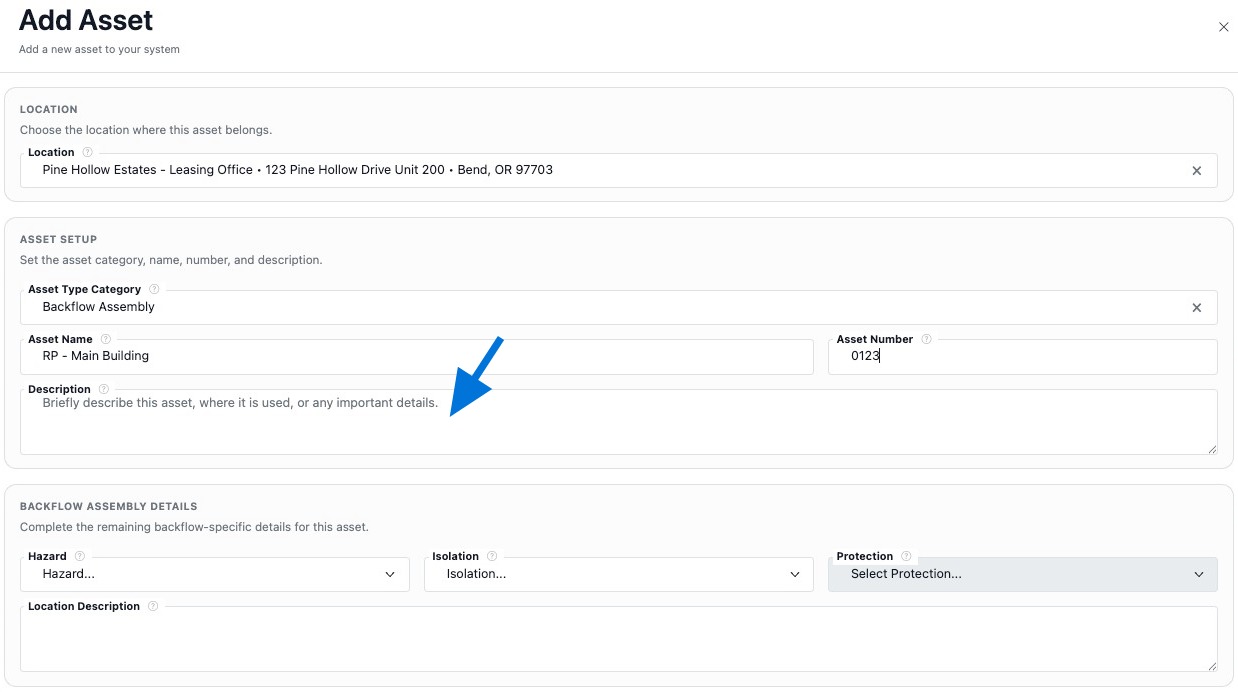
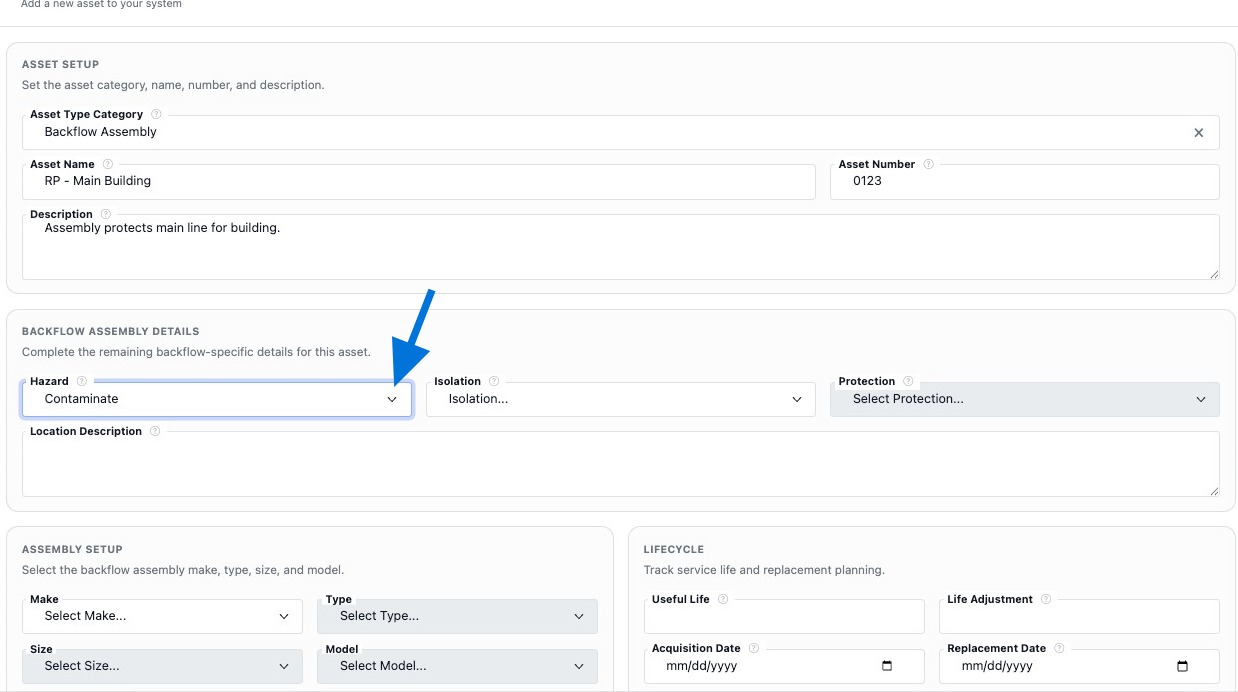
Add a Backflow Assembly and Link It to a Location
Create the assembly record and link it to the correct location during setup so testing, maintenance, and reporting stay connected from the start.


Add a Tester and Link a Gauge
Create the tester record, enter certification details, and link the tester’s gauge during setup so both records stay connected for testing and reporting.


Gauge Setup Notes
In this workflow, the gauge is created and linked directly while adding the tester, so both records stay connected from the start.
Recommended Flow
Add the gauge while creating the tester so you do not have to go back and connect the equipment record later.
What to Include
Enter the gauge name, make, model, serial number, calibration date, and upload the calibration certificate when available.
Why It Matters
Keeping gauge information tied to the tester supports better audit trails, cleaner test entry, and stronger documentation for reporting.