How to Add Contacts
Add Individuals and Companies so your system has the right people tied to locations, tasks, notices, and records – with clean, searchable contact details.
Before You Start
Understand what the contact record is used for and what information you may want ready before you begin.
What a Contact Is
A Contact is the record used to store people and organizations connected to locations, assets, tasks, notices, and related operational activity.
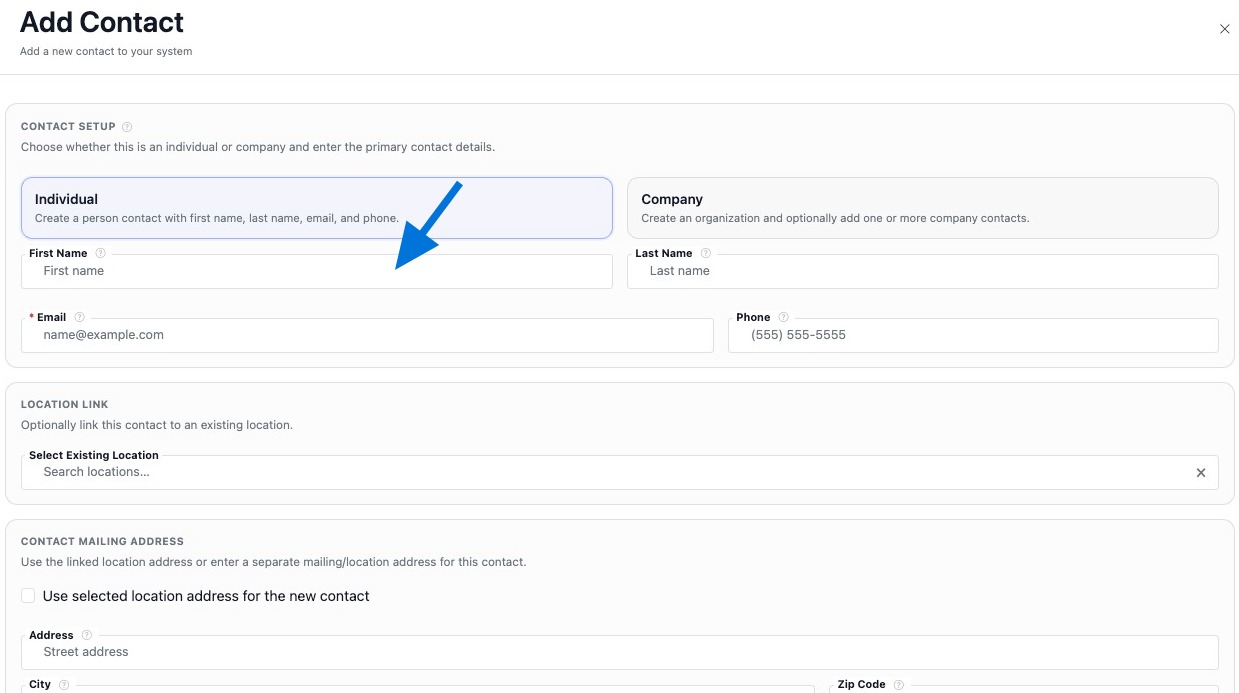
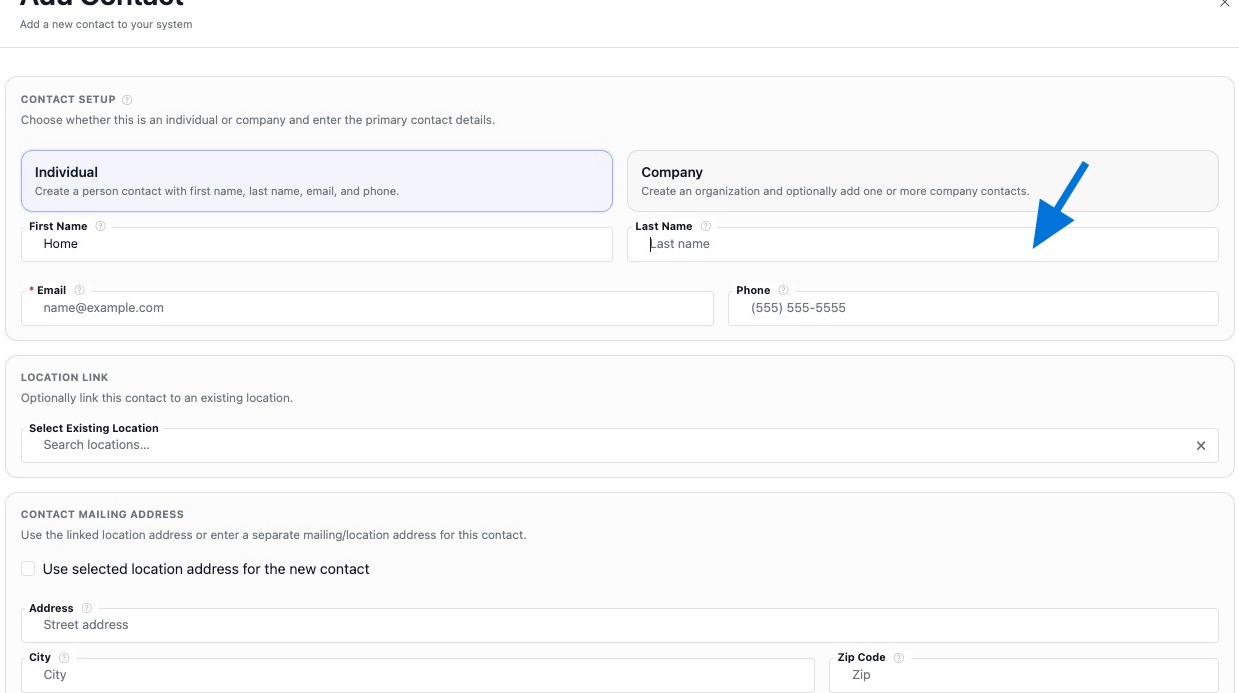
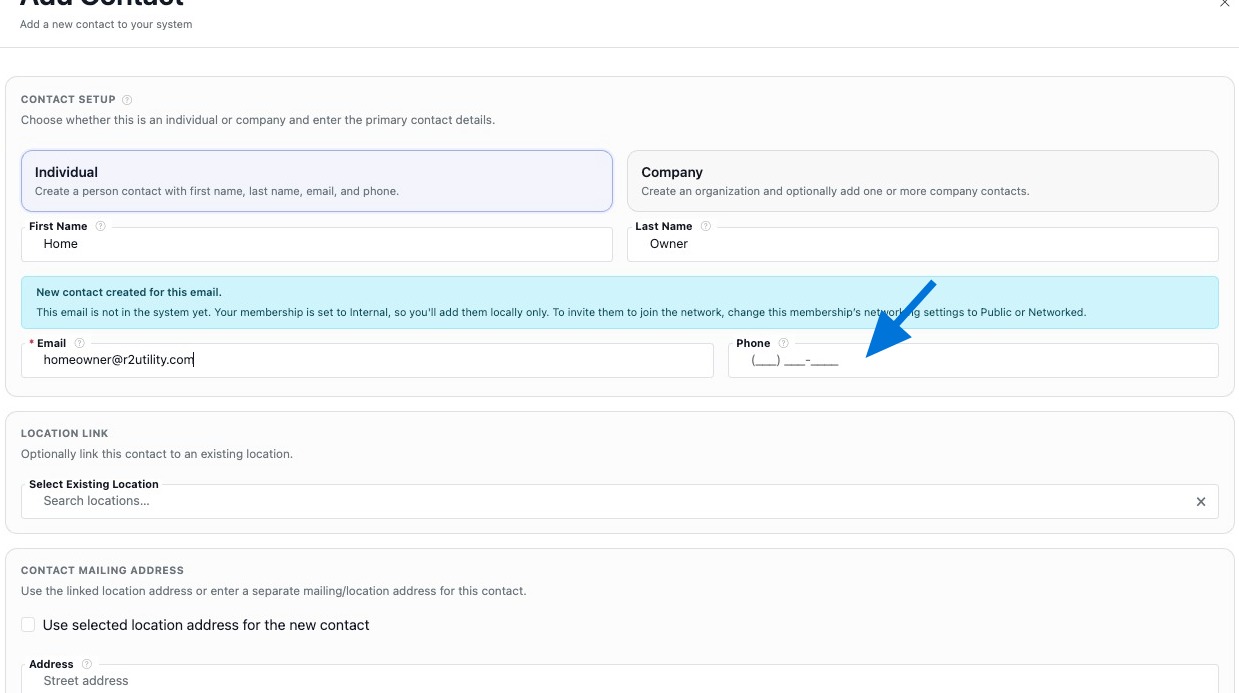
What You May Need
You may want the contact type, first and last name or organization name, email, phone number, mailing address, and linked location ready before you begin.
Recommended Flow
Create the contact first, then continue building the record by linking locations, linking assets when needed, adding notes, and refining the contact details over time.
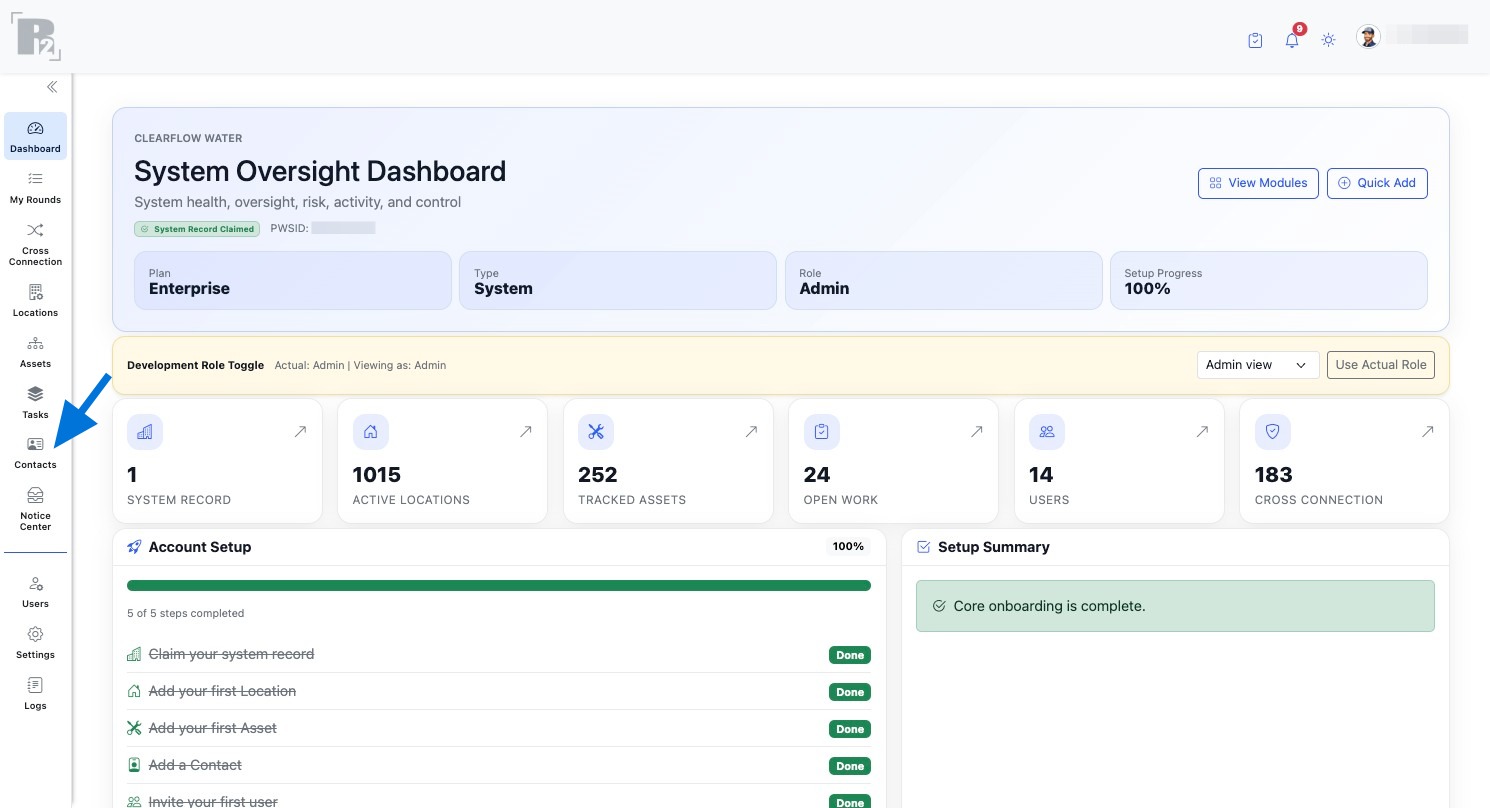
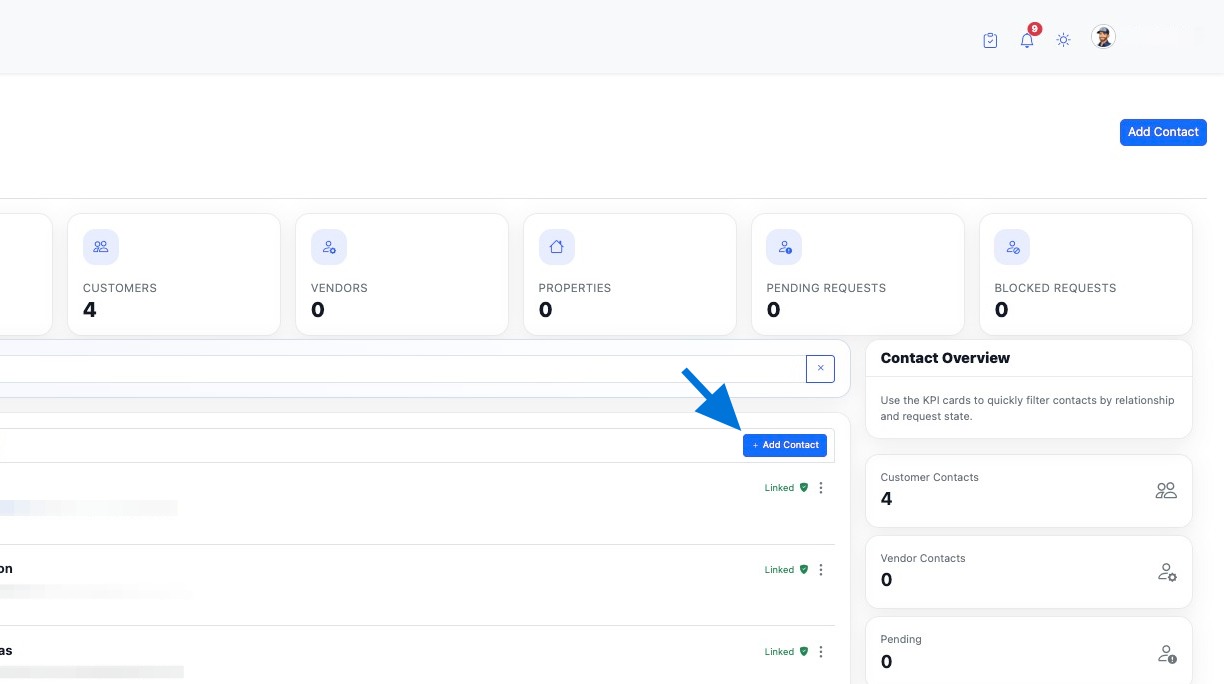
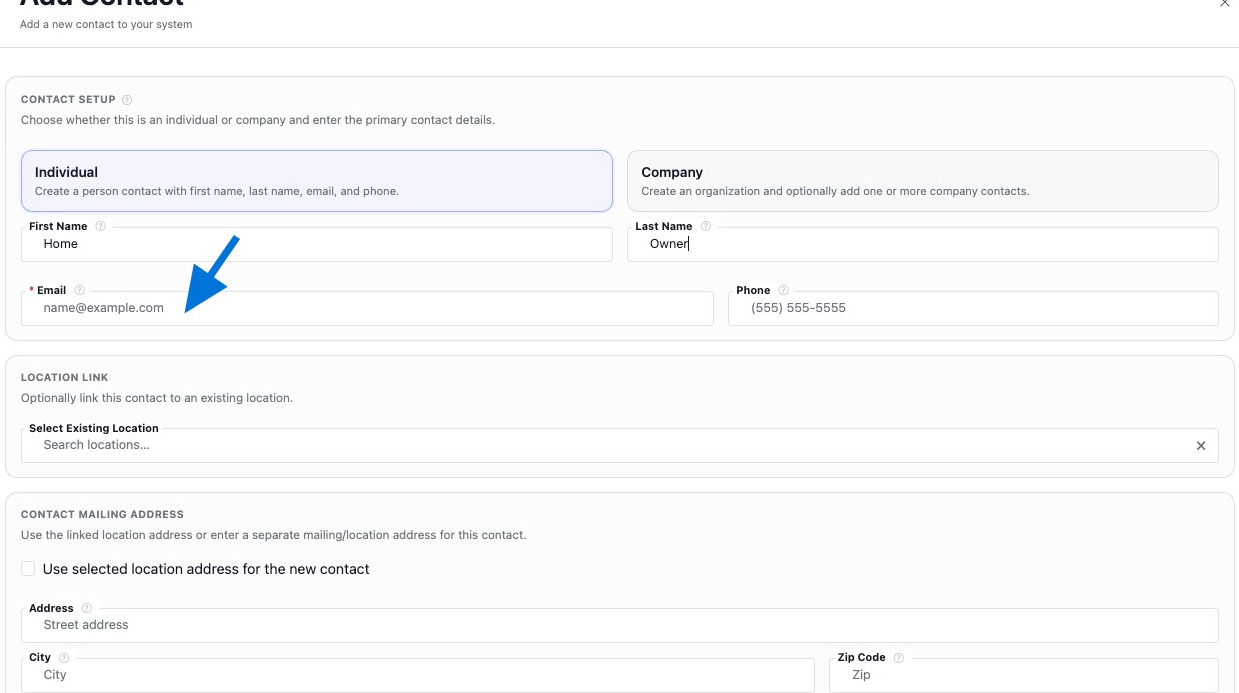
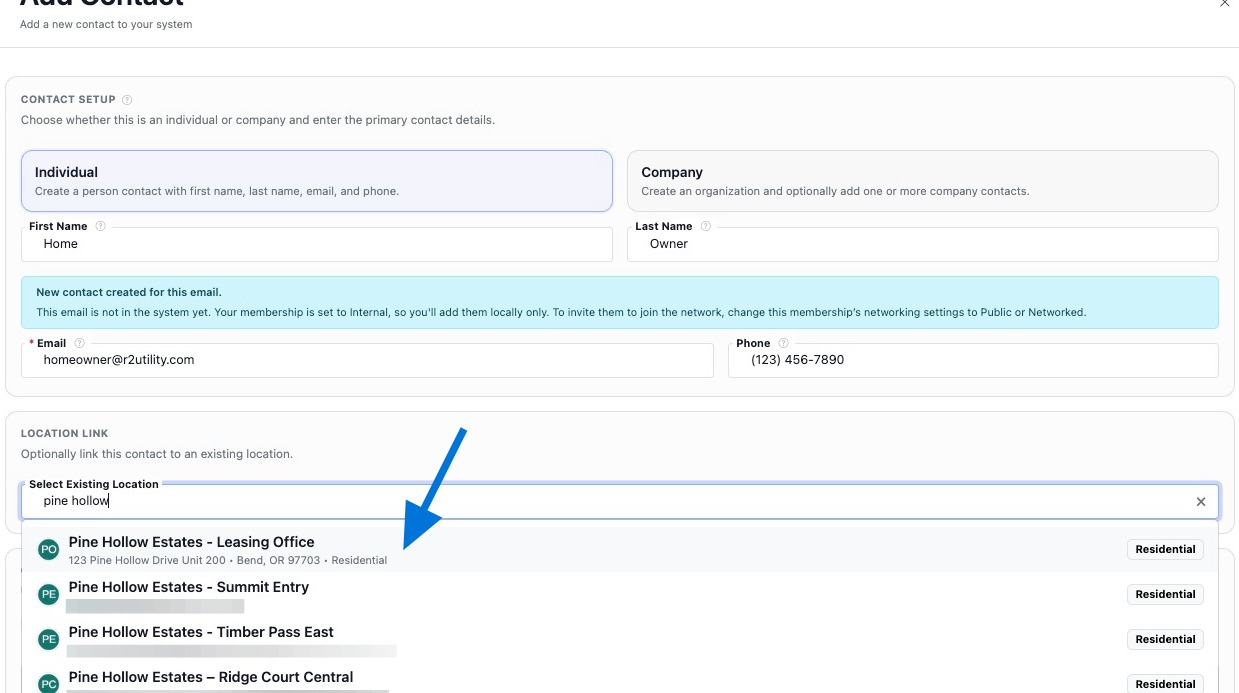
Add Contact
Create the contact record first so it can be tied to locations and other related records.
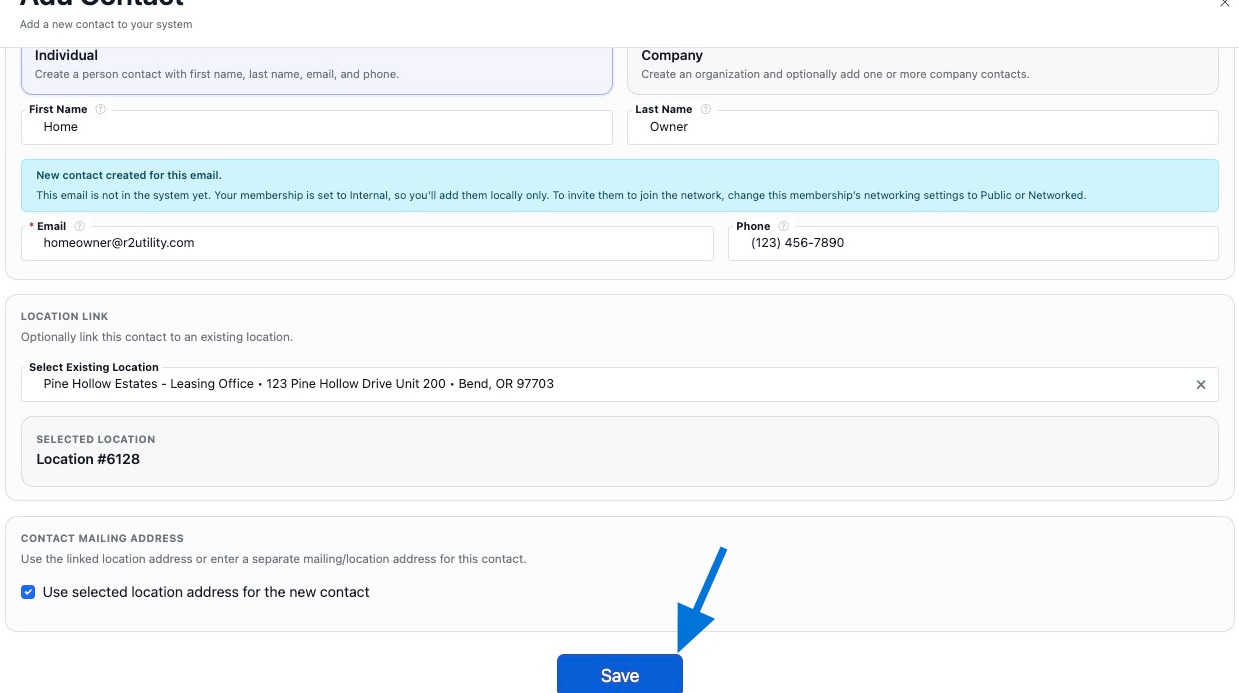
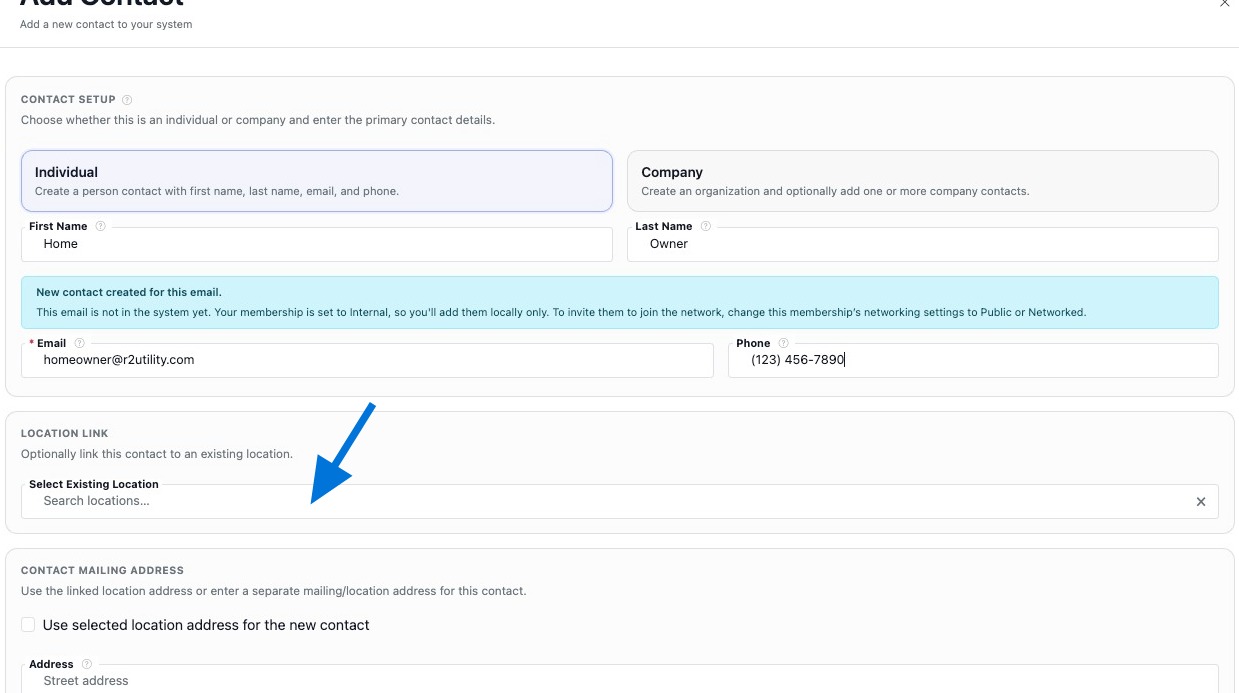
Link Locations
Link the contact to an existing location so communication, ownership, and related property records stay connected.


Link Assets
Link related assets to the contact when the person or organization is associated with equipment, assemblies, or related records in your system.
Why Link Assets
Linking assets helps your team understand what equipment, assemblies, or operational records are associated with the contact.
When to Use It
Use linked assets when the contact is an owner, vendor, service provider, responsible party, or other person connected to specific equipment records.
Recommended Approach
After creating the contact, continue building the record by linking any related assets so the contact record stays useful and connected.
Build the Contact Record
Once the contact exists, continue building it so the record stays useful, complete, and connected.
Add Notes
Add notes to capture communication history, coordination details, service context, or reminders related to this contact.
Link More Locations
Link additional locations when the same person or organization is connected to more than one property or site.
Edit Contact Details
Keep the contact details current by updating names, email addresses, phone numbers, mailing addresses, and any other relevant information.