Skip to content
Learning Center How-To Guides Add Locations

How to Add Locations

Create a location record, then continue building it by linking assets, assemblies, contacts, and related operational information.

Before You Start

Understand what the location record is used for and what information you may want ready before you begin.

What a Location Is

A Location is the record used to define where assets, tasks, files, notices, and related activity are managed in your system.
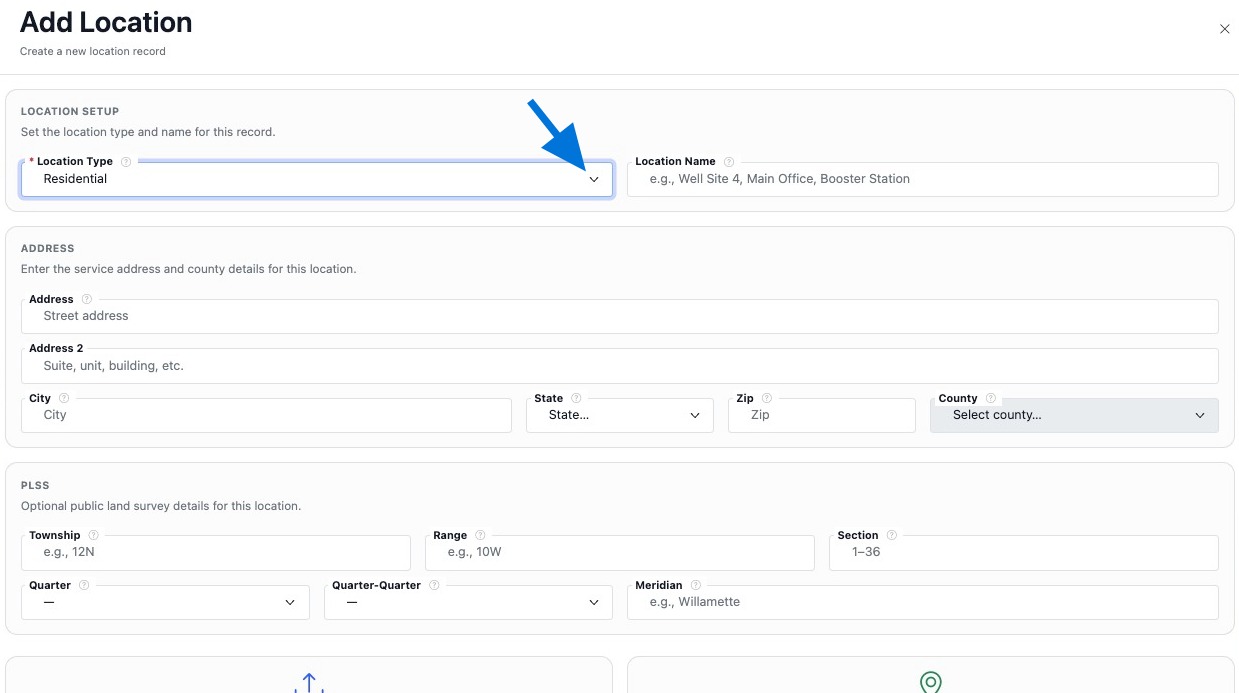
What You May Need

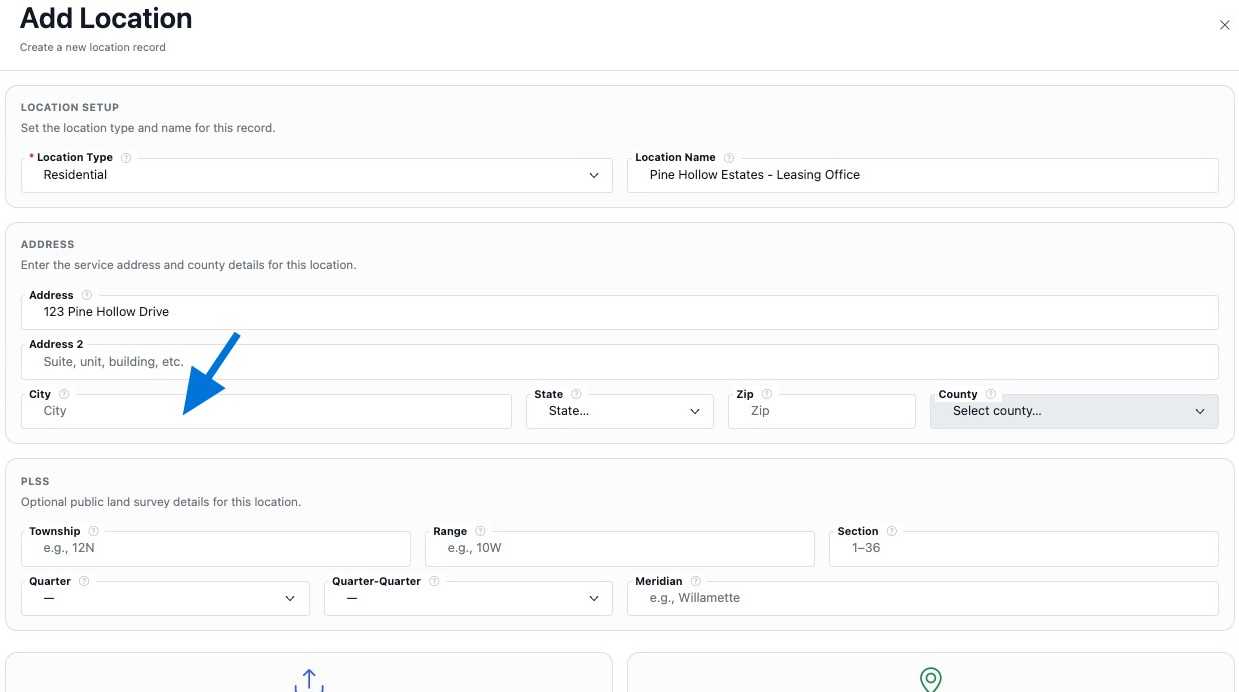
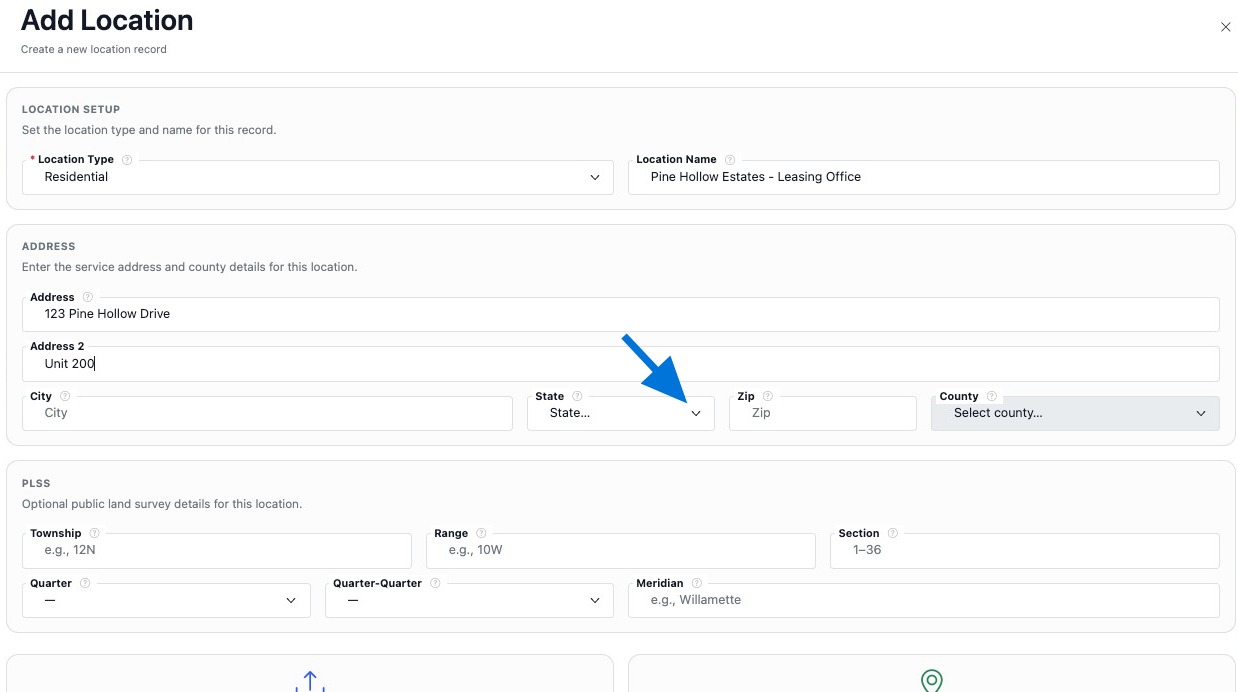
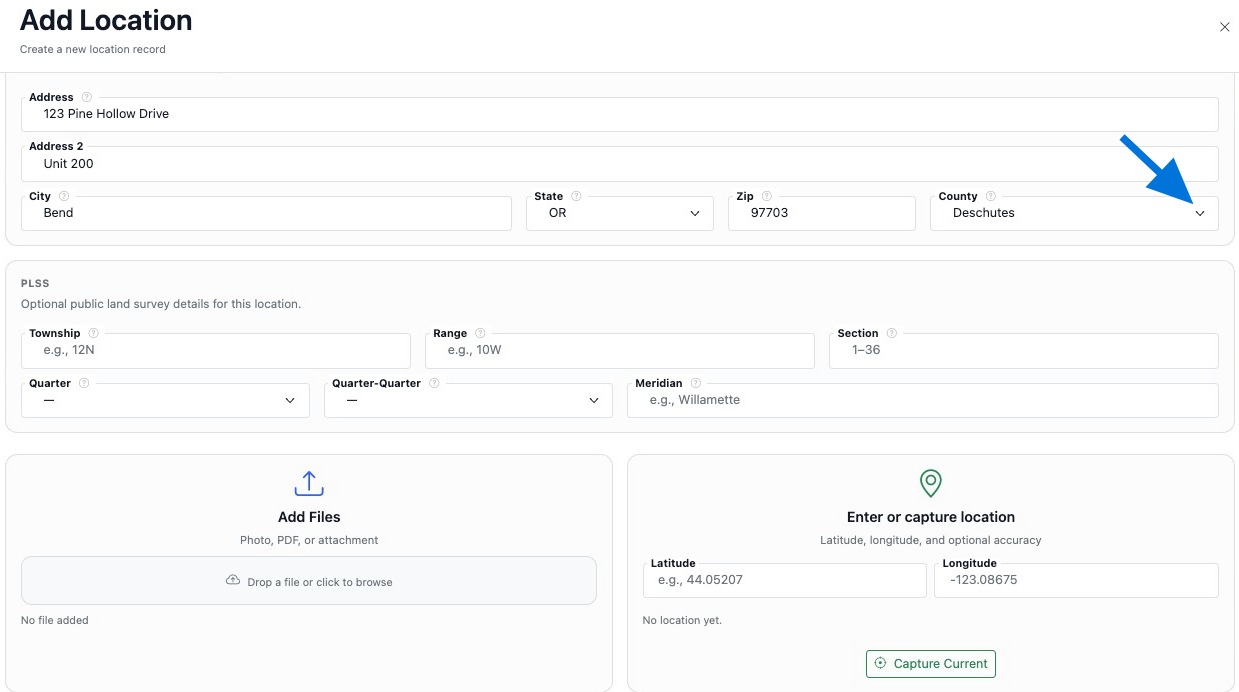
You may want the location type, property name or identifier, address details, PLSS information, GPS coordinates, and any supporting files ready before you begin.

Recommended Flow

Create the location first, then continue building the record by linking assets, assemblies, contacts, tasks, notes, and files from inside the location record.
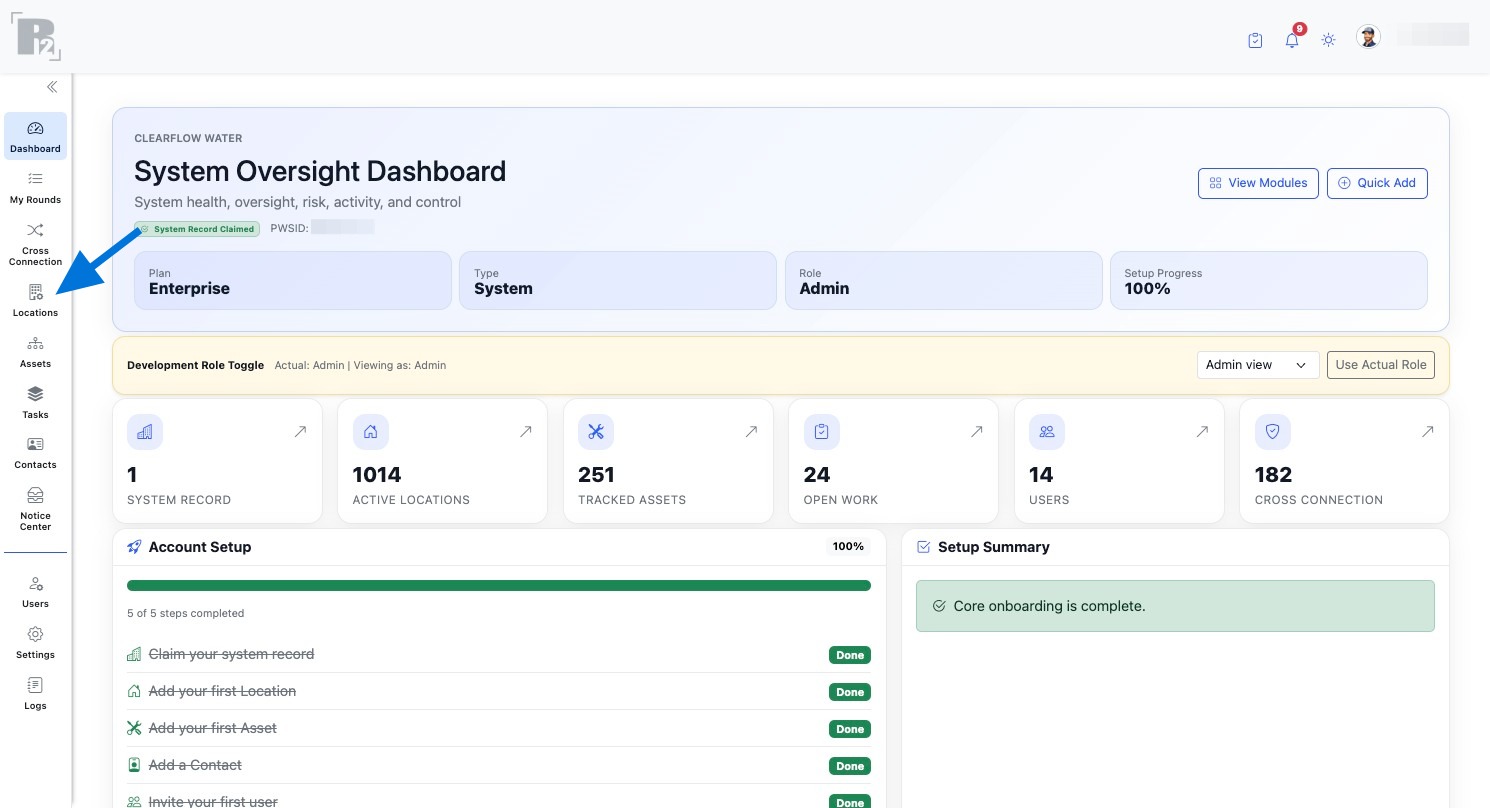
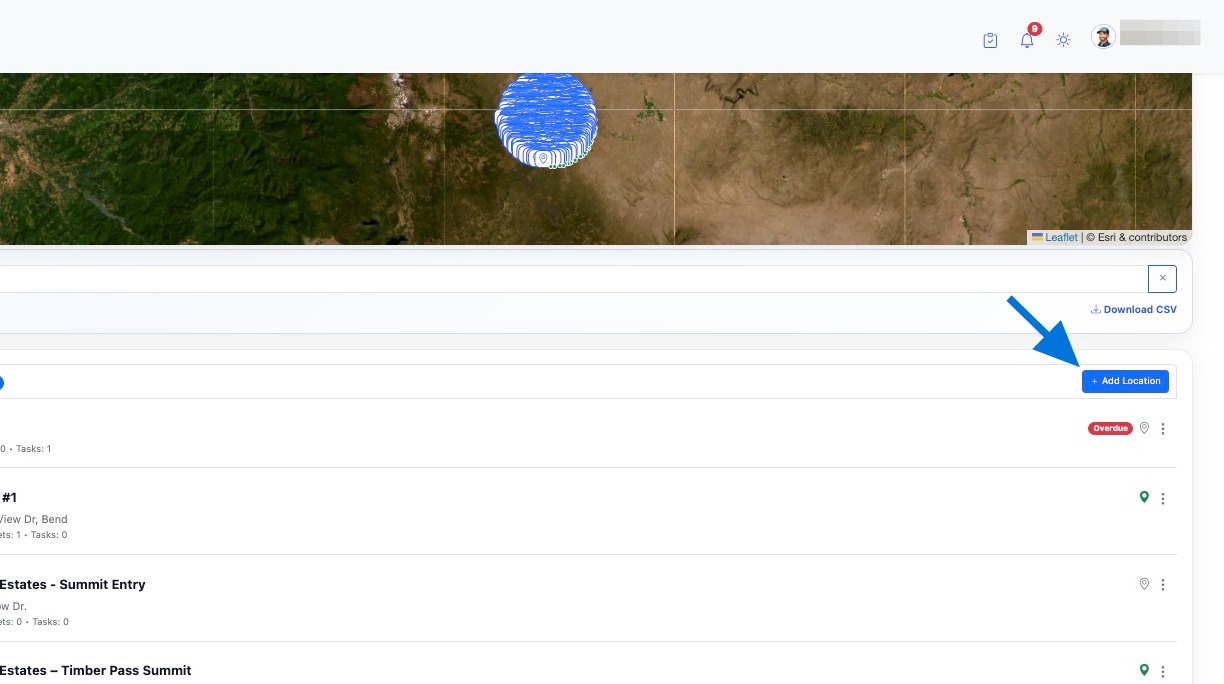
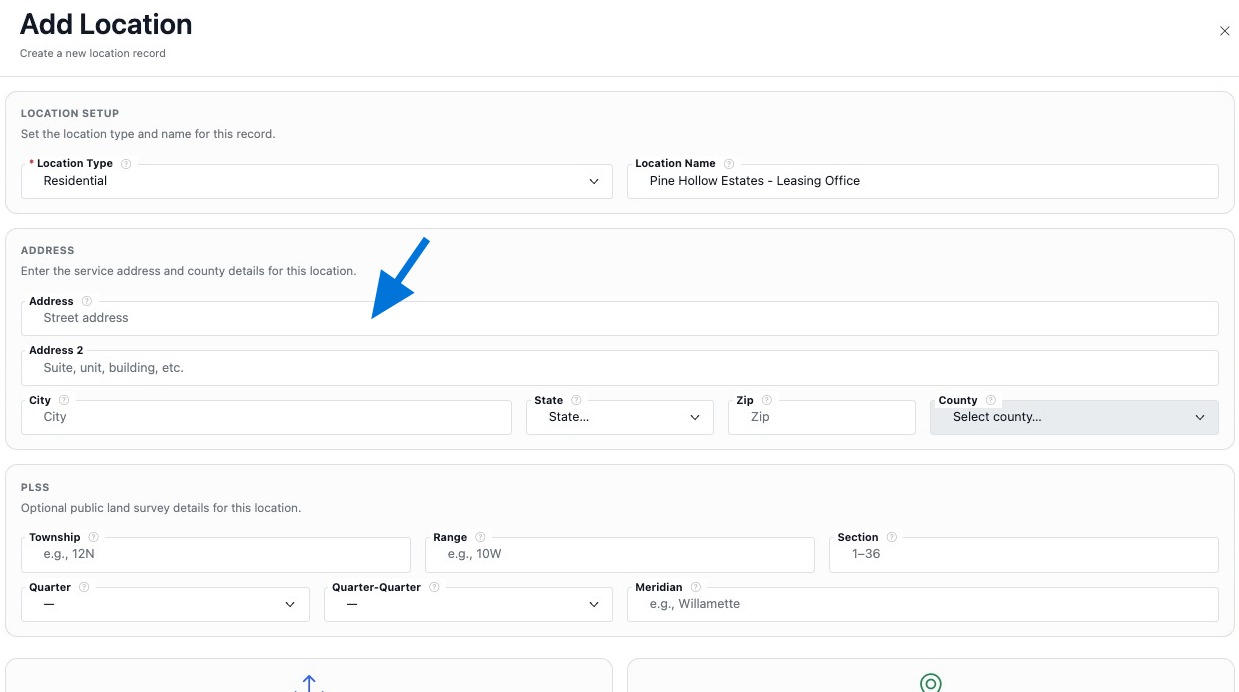
Add Location

Create the location record first so other records can be tied to the correct site.

01

Open the Locations page

Open the Locations page from the left navigation.

Open the Locations page from the left navigation
02

Start a new location record

Click Add Location to begin creating a new location record.

Click Add Location to begin creating a new location record
03

Select the location type

Choose the Location Type that best classifies the record.

Select the location type
04

Enter the location name

Enter the Property Name or location identifier so the record is easy to recognize in your system.

Enter the property name or location identifier
05

Enter the service address

Enter the full service address for the location.

Enter the full service address
06

Complete the address details

Enter the City, select the State, enter the ZIP Code, and select the County.

Enter the city
Enter the city.
Select the state
Select the state.
Enter the ZIP code
Enter the ZIP code.
Select the county
Select the county.
07

Add PLSS information if needed

Enter PLSS details to add land description information when needed.

Enter PLSS information if needed
08

Upload files if needed

Attach any supporting documents, photos, or records related to the location.

Upload files or attach documents related to the location
09

Add GPS coordinates if needed

Enter Latitude and Longitude if you want to define the exact geographic position of the location.

Enter latitude and longitude
10

Save the location

Click Add Location to save the record as a new location.

Click Add Location to save the location
11

Open and review the record

Click the newly created location to open the record, then review the details before continuing to build it out.

Click the newly created location to open the record
Open the newly created location.
Review and verify the location details
Review the location details and continue building the record.

Build the Location Record

Once the location exists, continue building it so the record stays useful, complete, and connected.

Link Connected Records

Add assets, assemblies, contacts, tasks, files, and notices so activity stays tied to the correct site.

Keep It Searchable

Use consistent names, identifiers, and linked records so the location stays easy to find and easy to manage.

Review the Summary Page

After saving connected records, review the location summary to confirm everything appears where expected.

Terms | Privacy
Proudly Built, Hosted & Operated in the USA
© 2026 R2 Utility. All rights reserved. 
Terms | Privacy
Proudly Built, Hosted & Operated in the USA
© 2026 R2 Utility. All rights reserved.