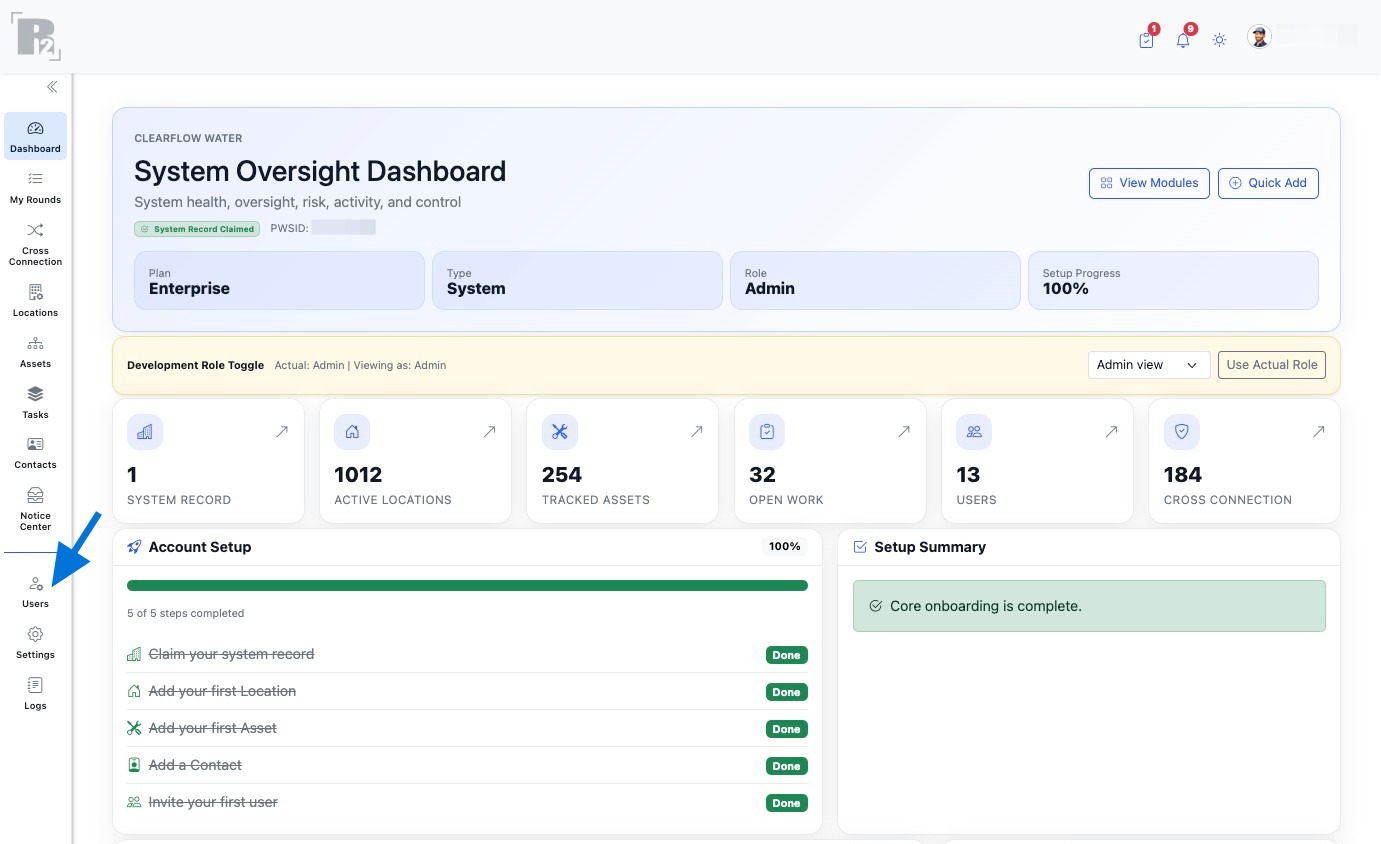
How to Add Users
Create user accounts with names, email addresses, and roles so your team can access R2 with the right permissions and receive assignments.
Before You Start
Understand what user records are used for and what details you should have ready before creating a new user.
What a User Is
A User is a person in your organization who can access your R2 system based on the permissions assigned to their role.
What You May Need
Have the user’s first name, last name, email address, and the correct role ready before you begin.
Why Roles Matter
The selected role defines the user’s access level and helps control what they can view, manage, and update in the system.
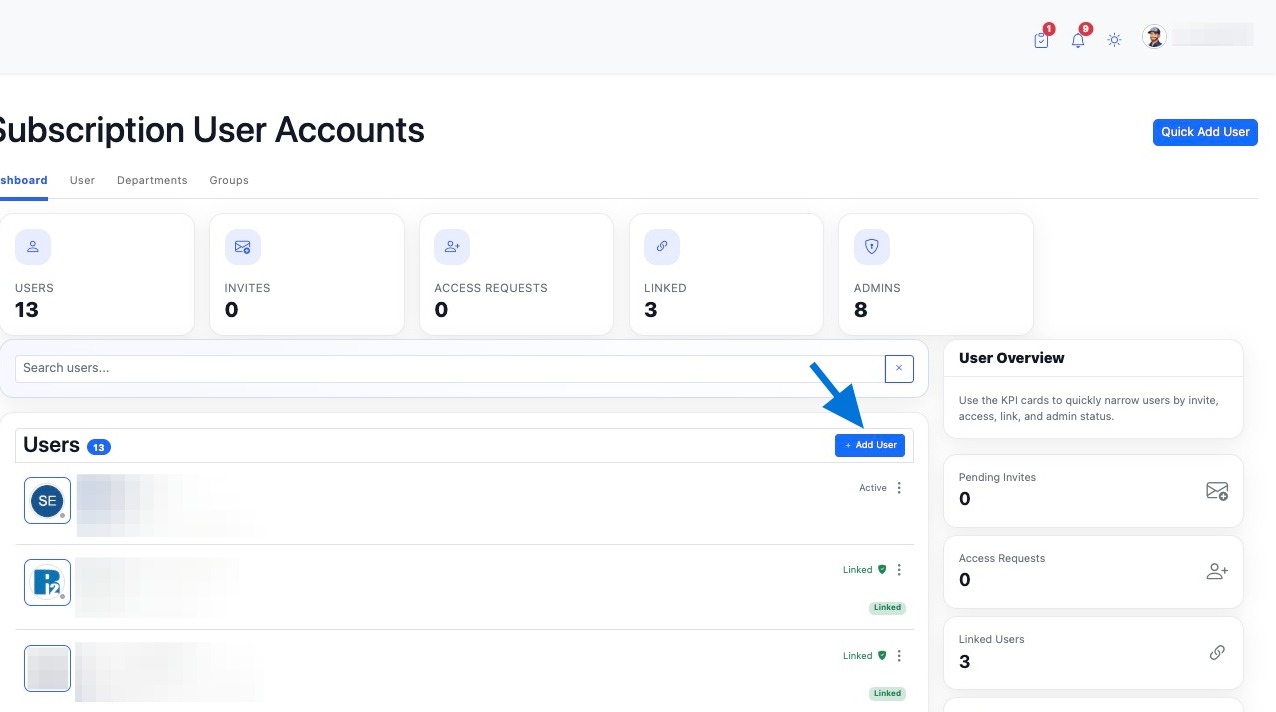
Add User
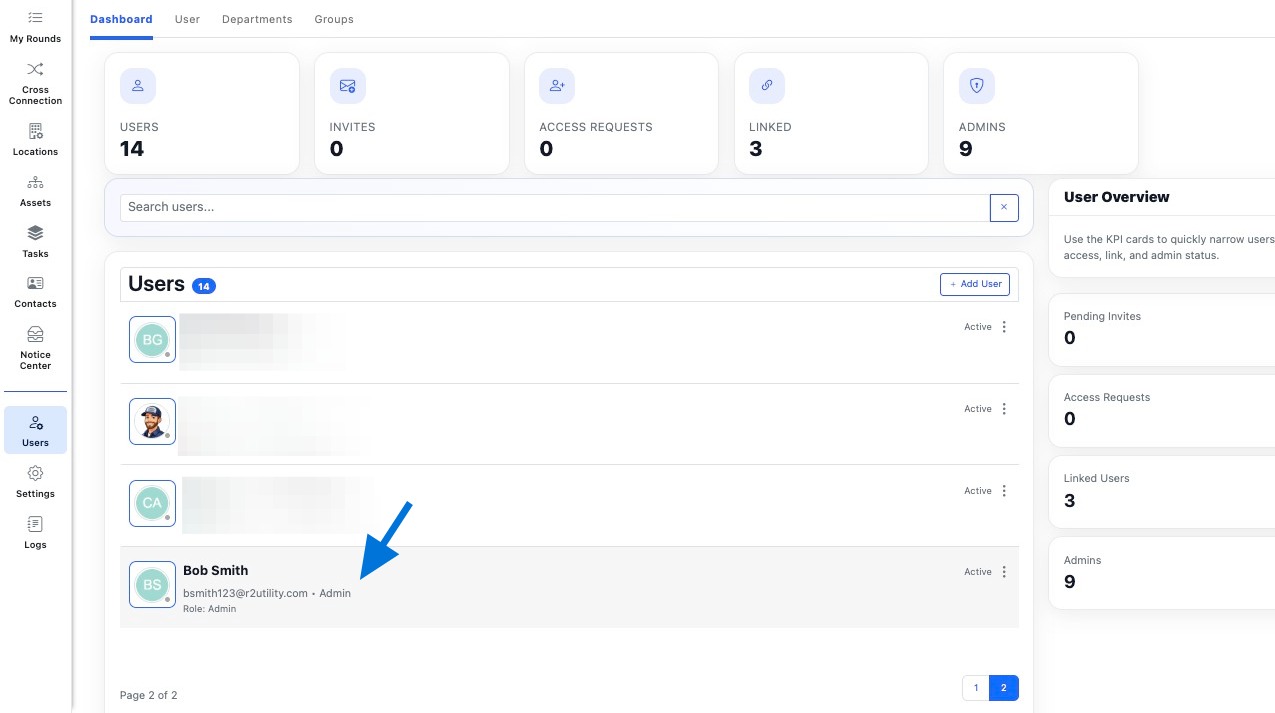
Create the user record, assign the appropriate role, and review the saved record once it has been added to the system.
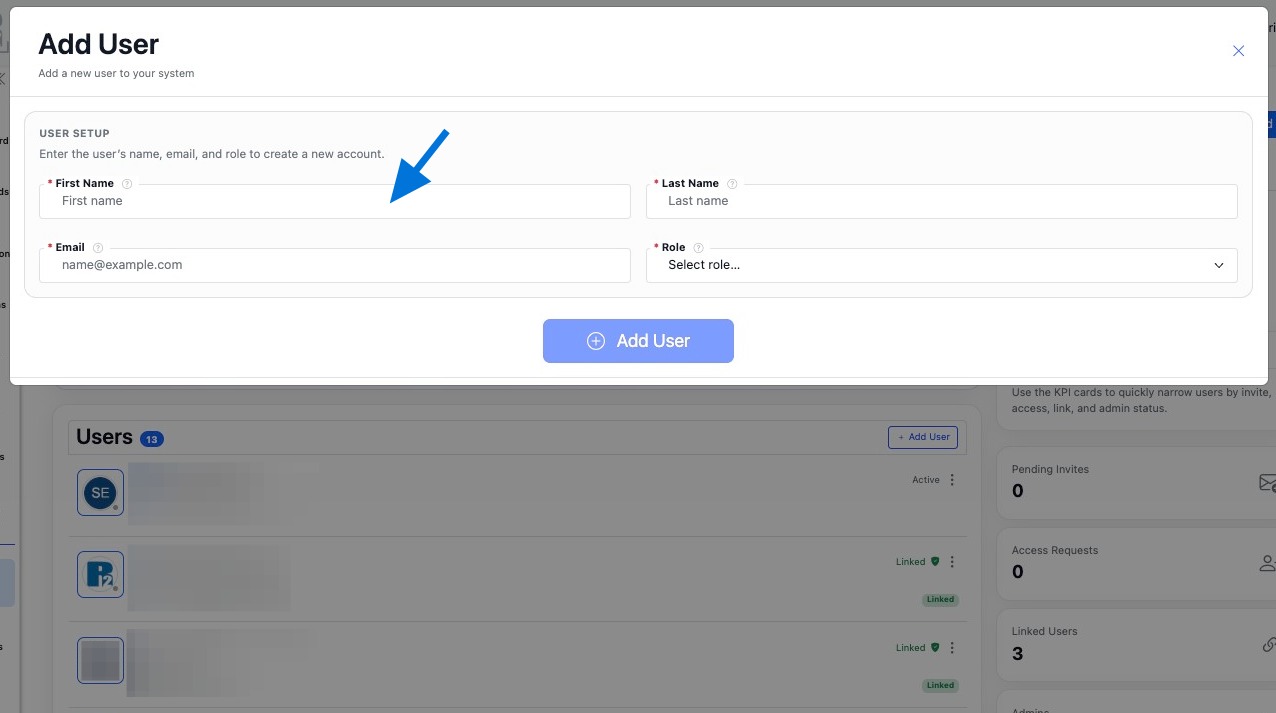
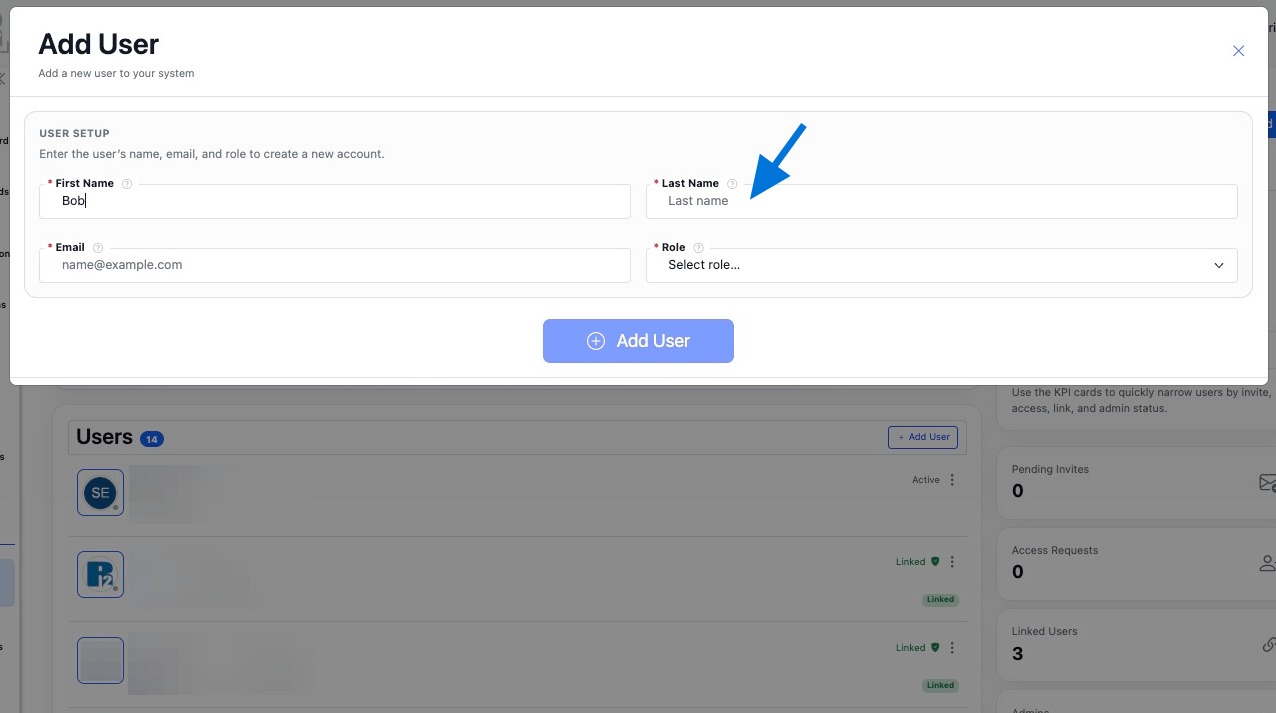
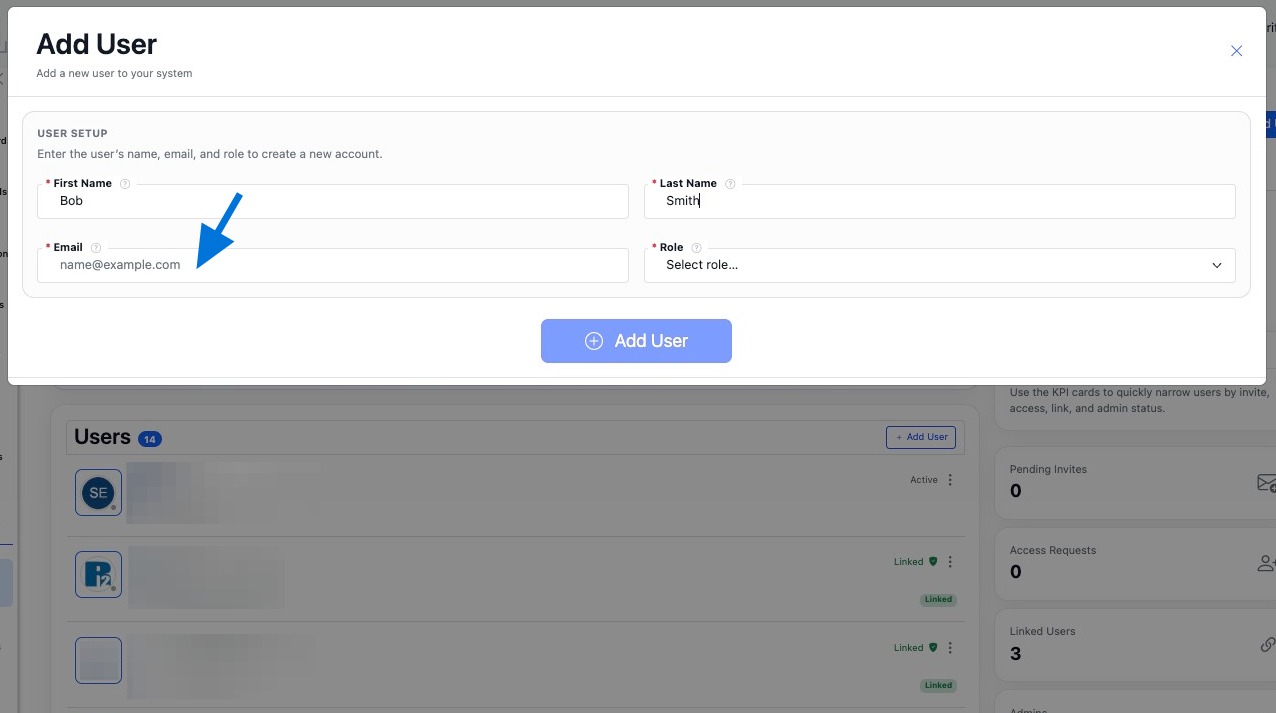
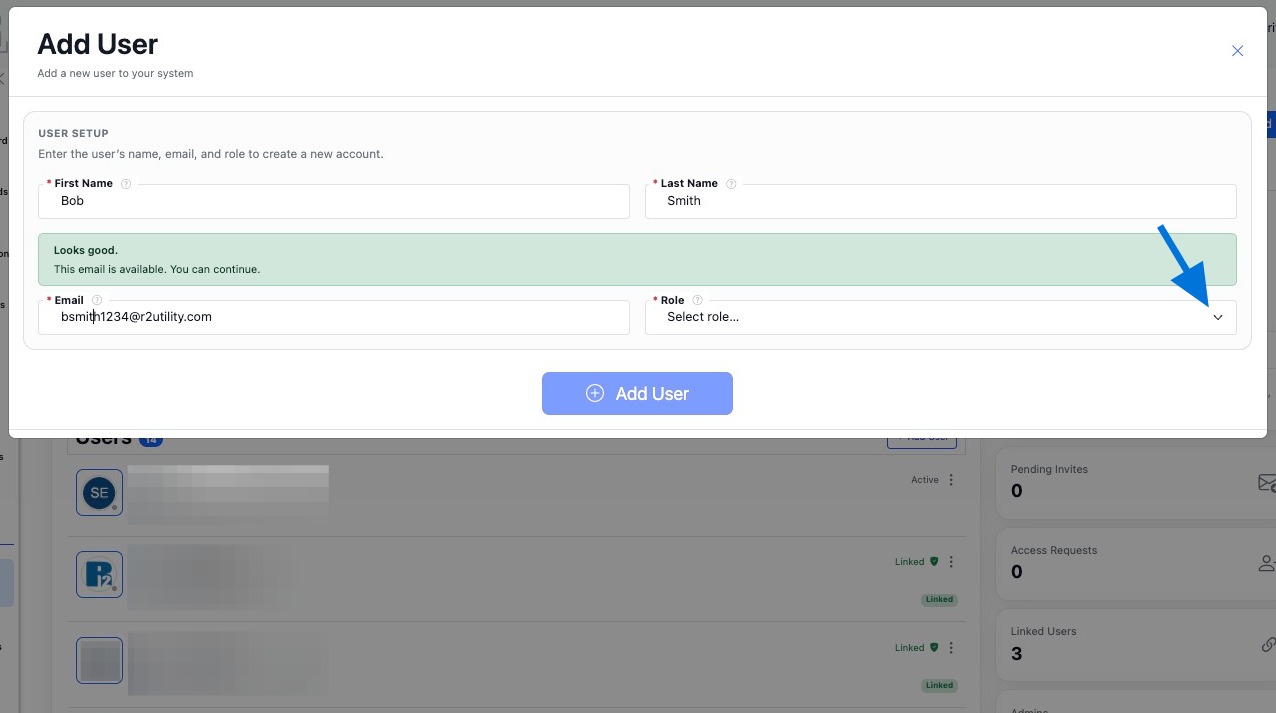
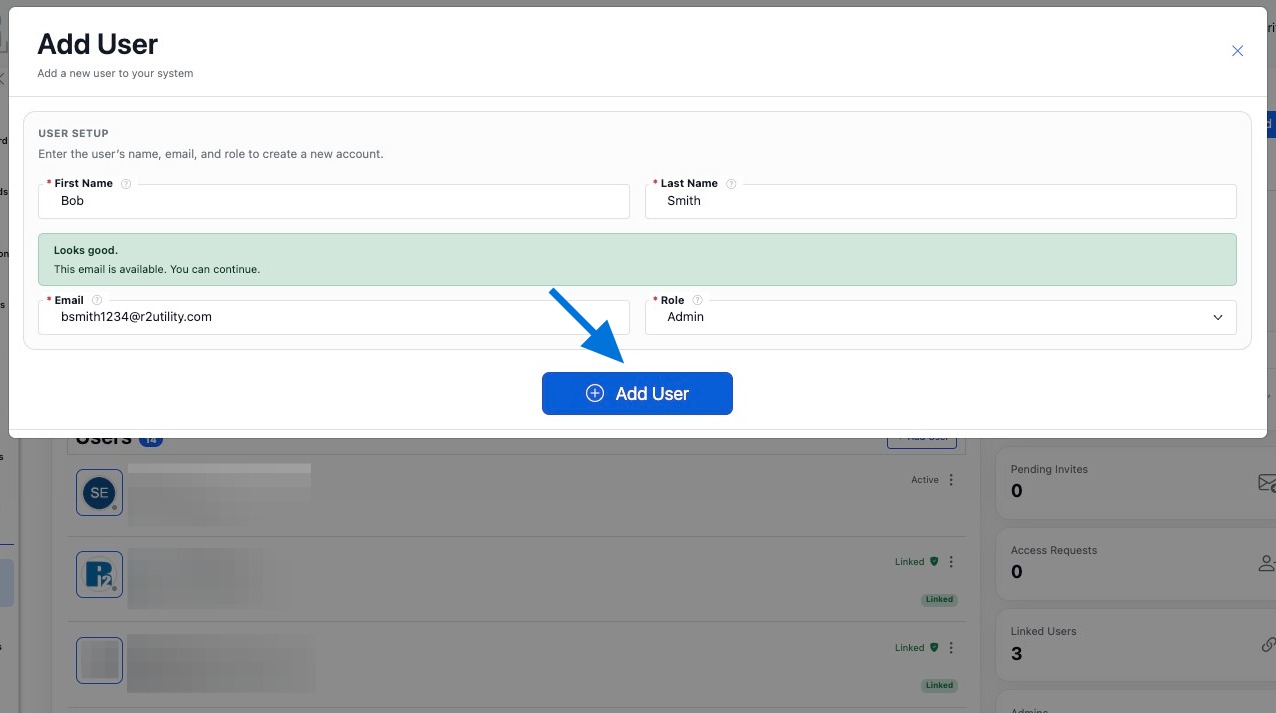
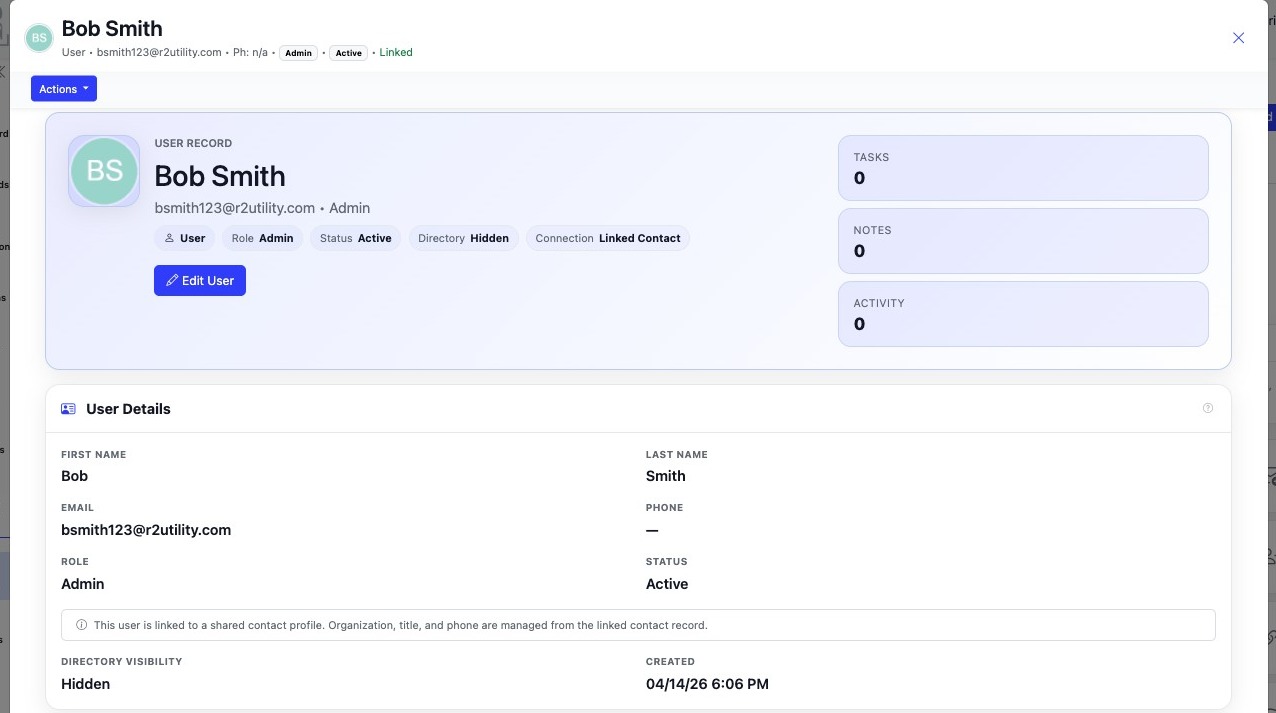
Build the User Record
Once the user is created, continue managing the record so permissions, assignments, and related activity stay organized.
Review Access
Confirm the selected role matches the level of access the user should have in your system.
Manage the Record
You can edit the user later if names, email details, or permissions need to be updated.
Assign Work
Once the user exists, they can be assigned tasks and included in your ongoing workflows.
User Roles
Understand how each role affects access, permissions, and what the user can do in your system.
Admin
Full system access with the highest level of control. Admins can manage records, users, and overall system activity.
Manager
Broad access for managing records, workflows, and day-to-day operations, without full admin control.
User
Standard access for completing assigned work, updating records, and participating in daily workflows.