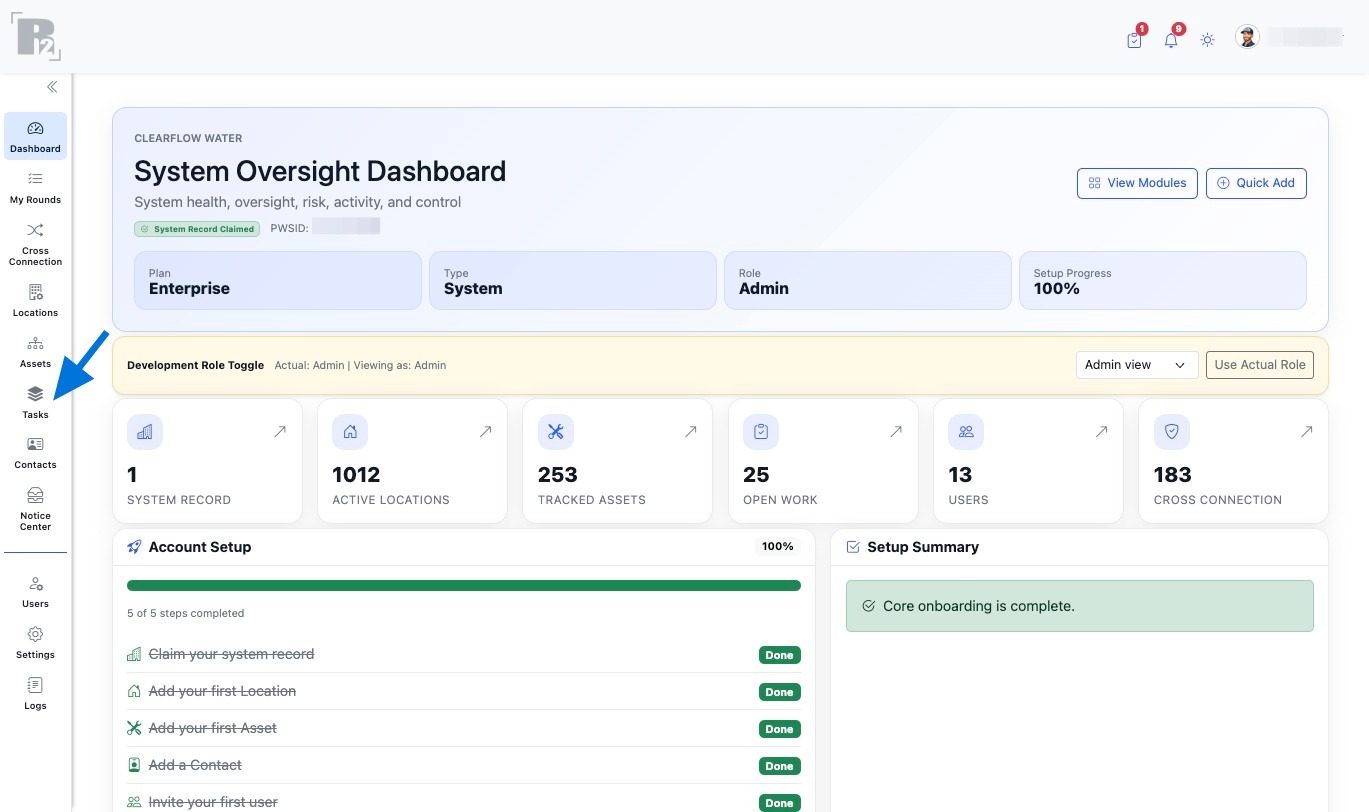
How to Add Tasks
Create a task, link it to the correct location and asset, then continue building the record with assignment, files, GPS details, and scheduling information.
Before You Start
Understand what the task record is used for and what information you may want ready before you begin.
What a Task Is
A Task is the record used to track work, inspections, service activity, and follow-up items tied to your locations and assets.
What You May Need
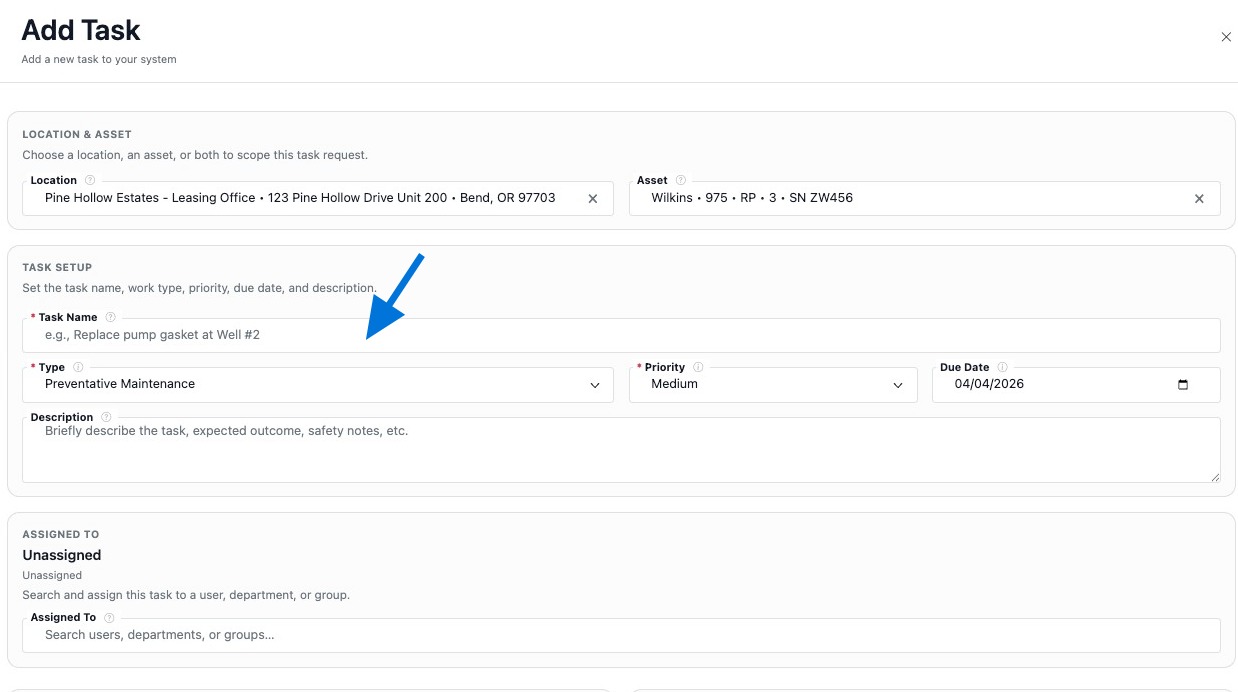
You may want the task name, task type, priority, due date, assigned user, linked location, linked asset, files, GPS details, and scheduling information ready before you begin.
Recommended Flow
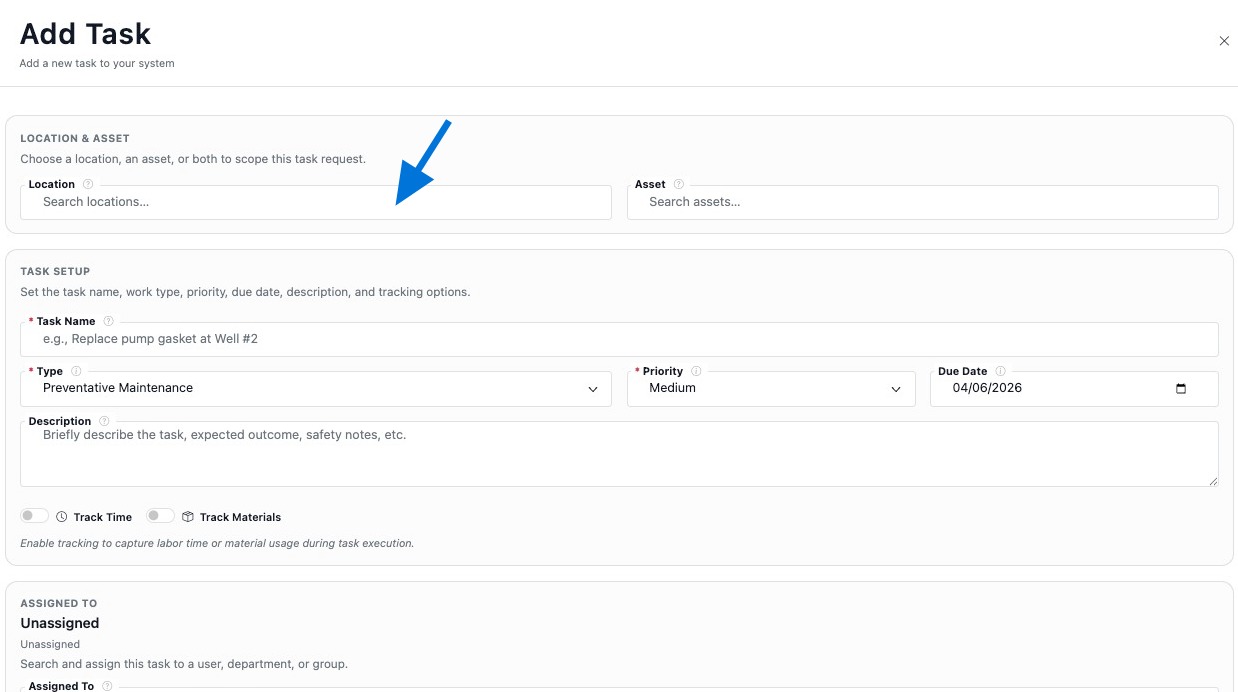
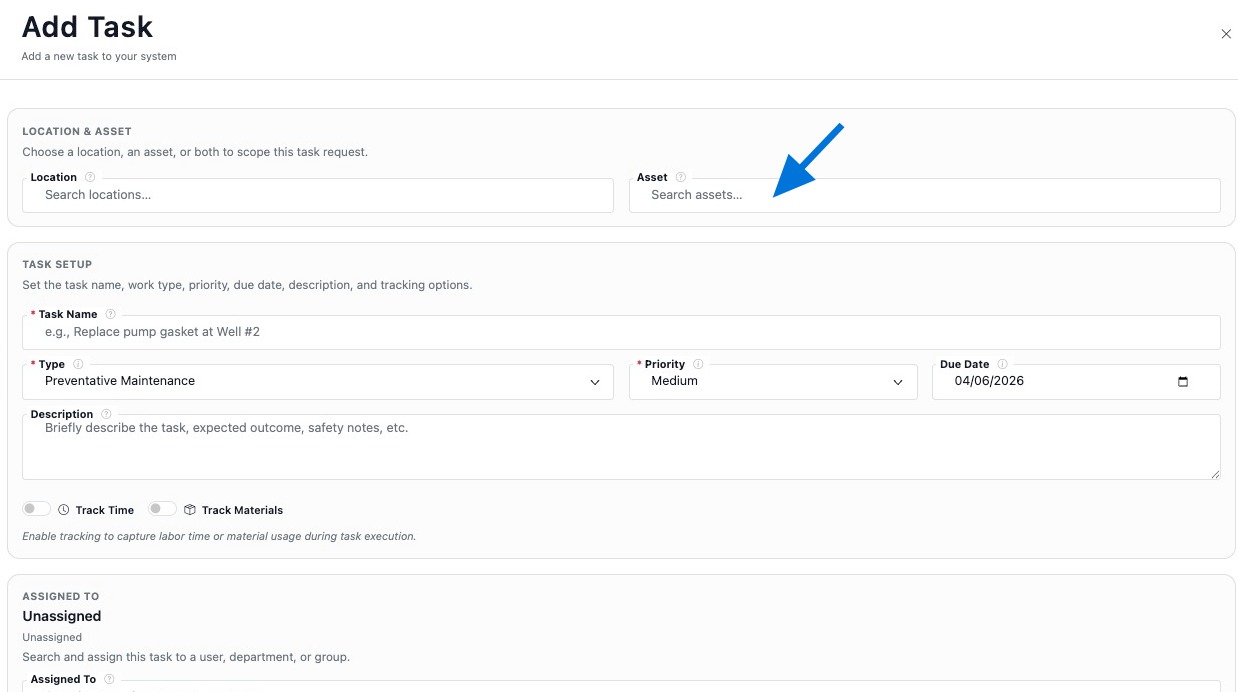
Select the location first, then choose the asset if applicable, so the task stays connected to the correct records from the start.
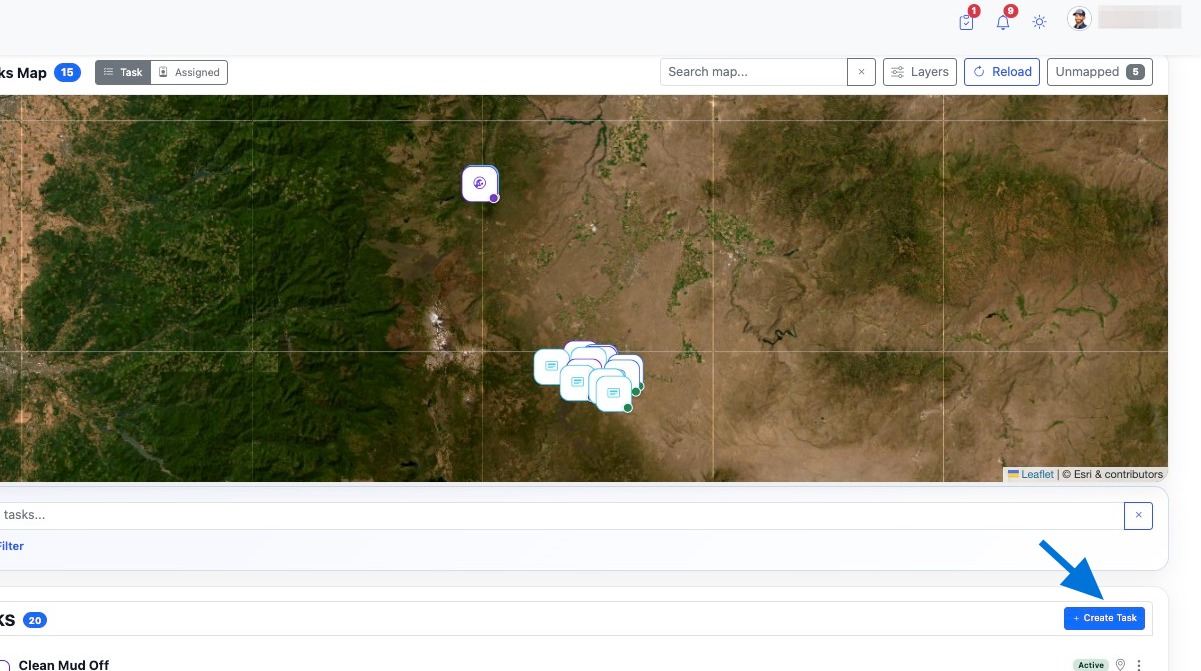
Add Task
Create the task record and connect it to the correct location, asset, and supporting details.


Build the Task Record
Once the task exists, continue building it so the record stays useful, complete, and connected.
Keep It Connected
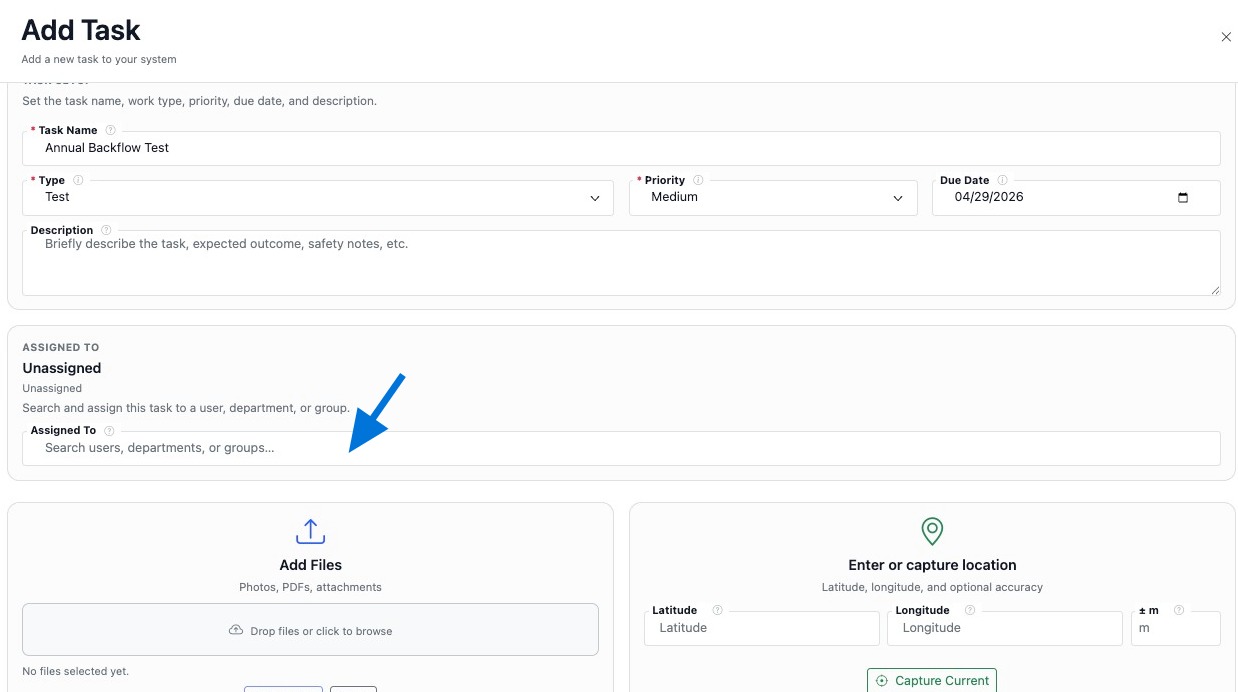
Add the correct location, asset, assignment, files, and scheduling details so the task stays tied to the right records.
Keep It Clear
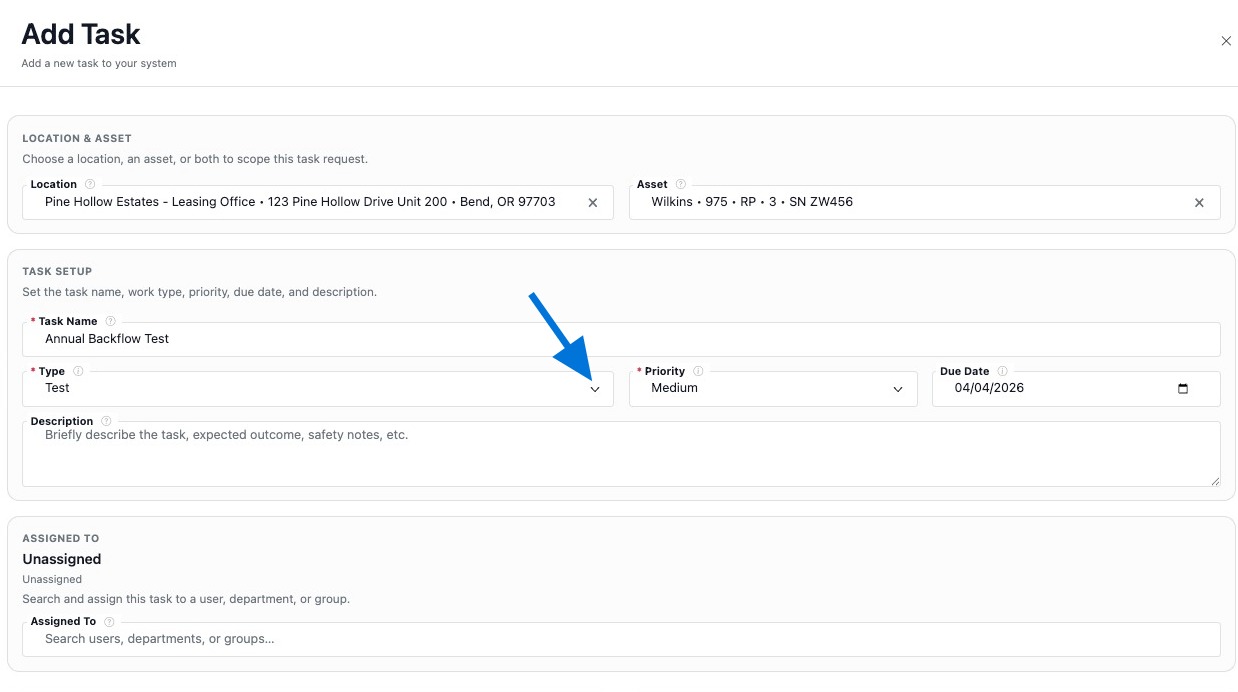
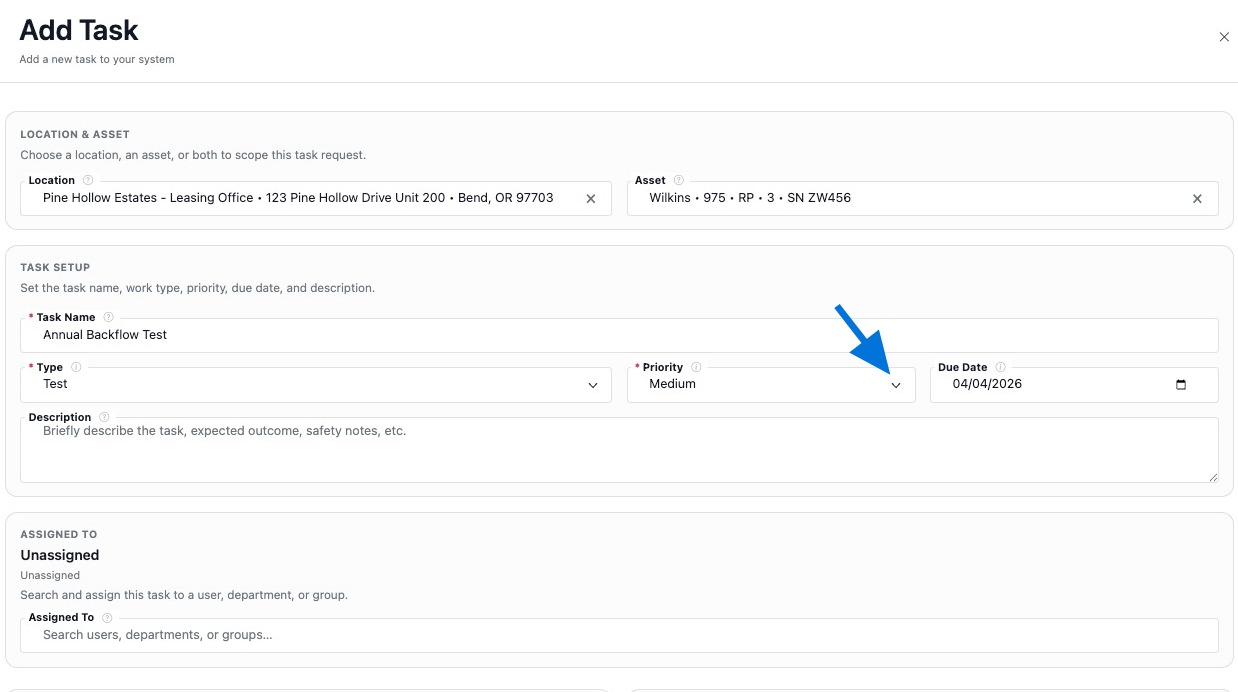
Use clear task names, task types, priorities, and due dates so the work is easy to understand and manage.
Review the Record
After saving, review the task record to confirm the linked records, attachments, and task details appear as expected.